Painting Basing Materials? Same Texture, Totally Different Effect
We had a short hobby exchange recently that turned into one of those deceptively useful basing tips: yes, we paint the basing materials too.
A lot of people ask this at some point, especially when starting to care more about bases: if we use the same grit, the same stones, the same tufts or scatter, how do we make them fit different armies or different color schemes? The answer is simple — the raw material can stay the same, and the final look comes from how we paint it.
In this case, Wilini showed two examples using the same basing scatter and the same small stone, but painted in a different way. That alone completely changes the mood of the base.
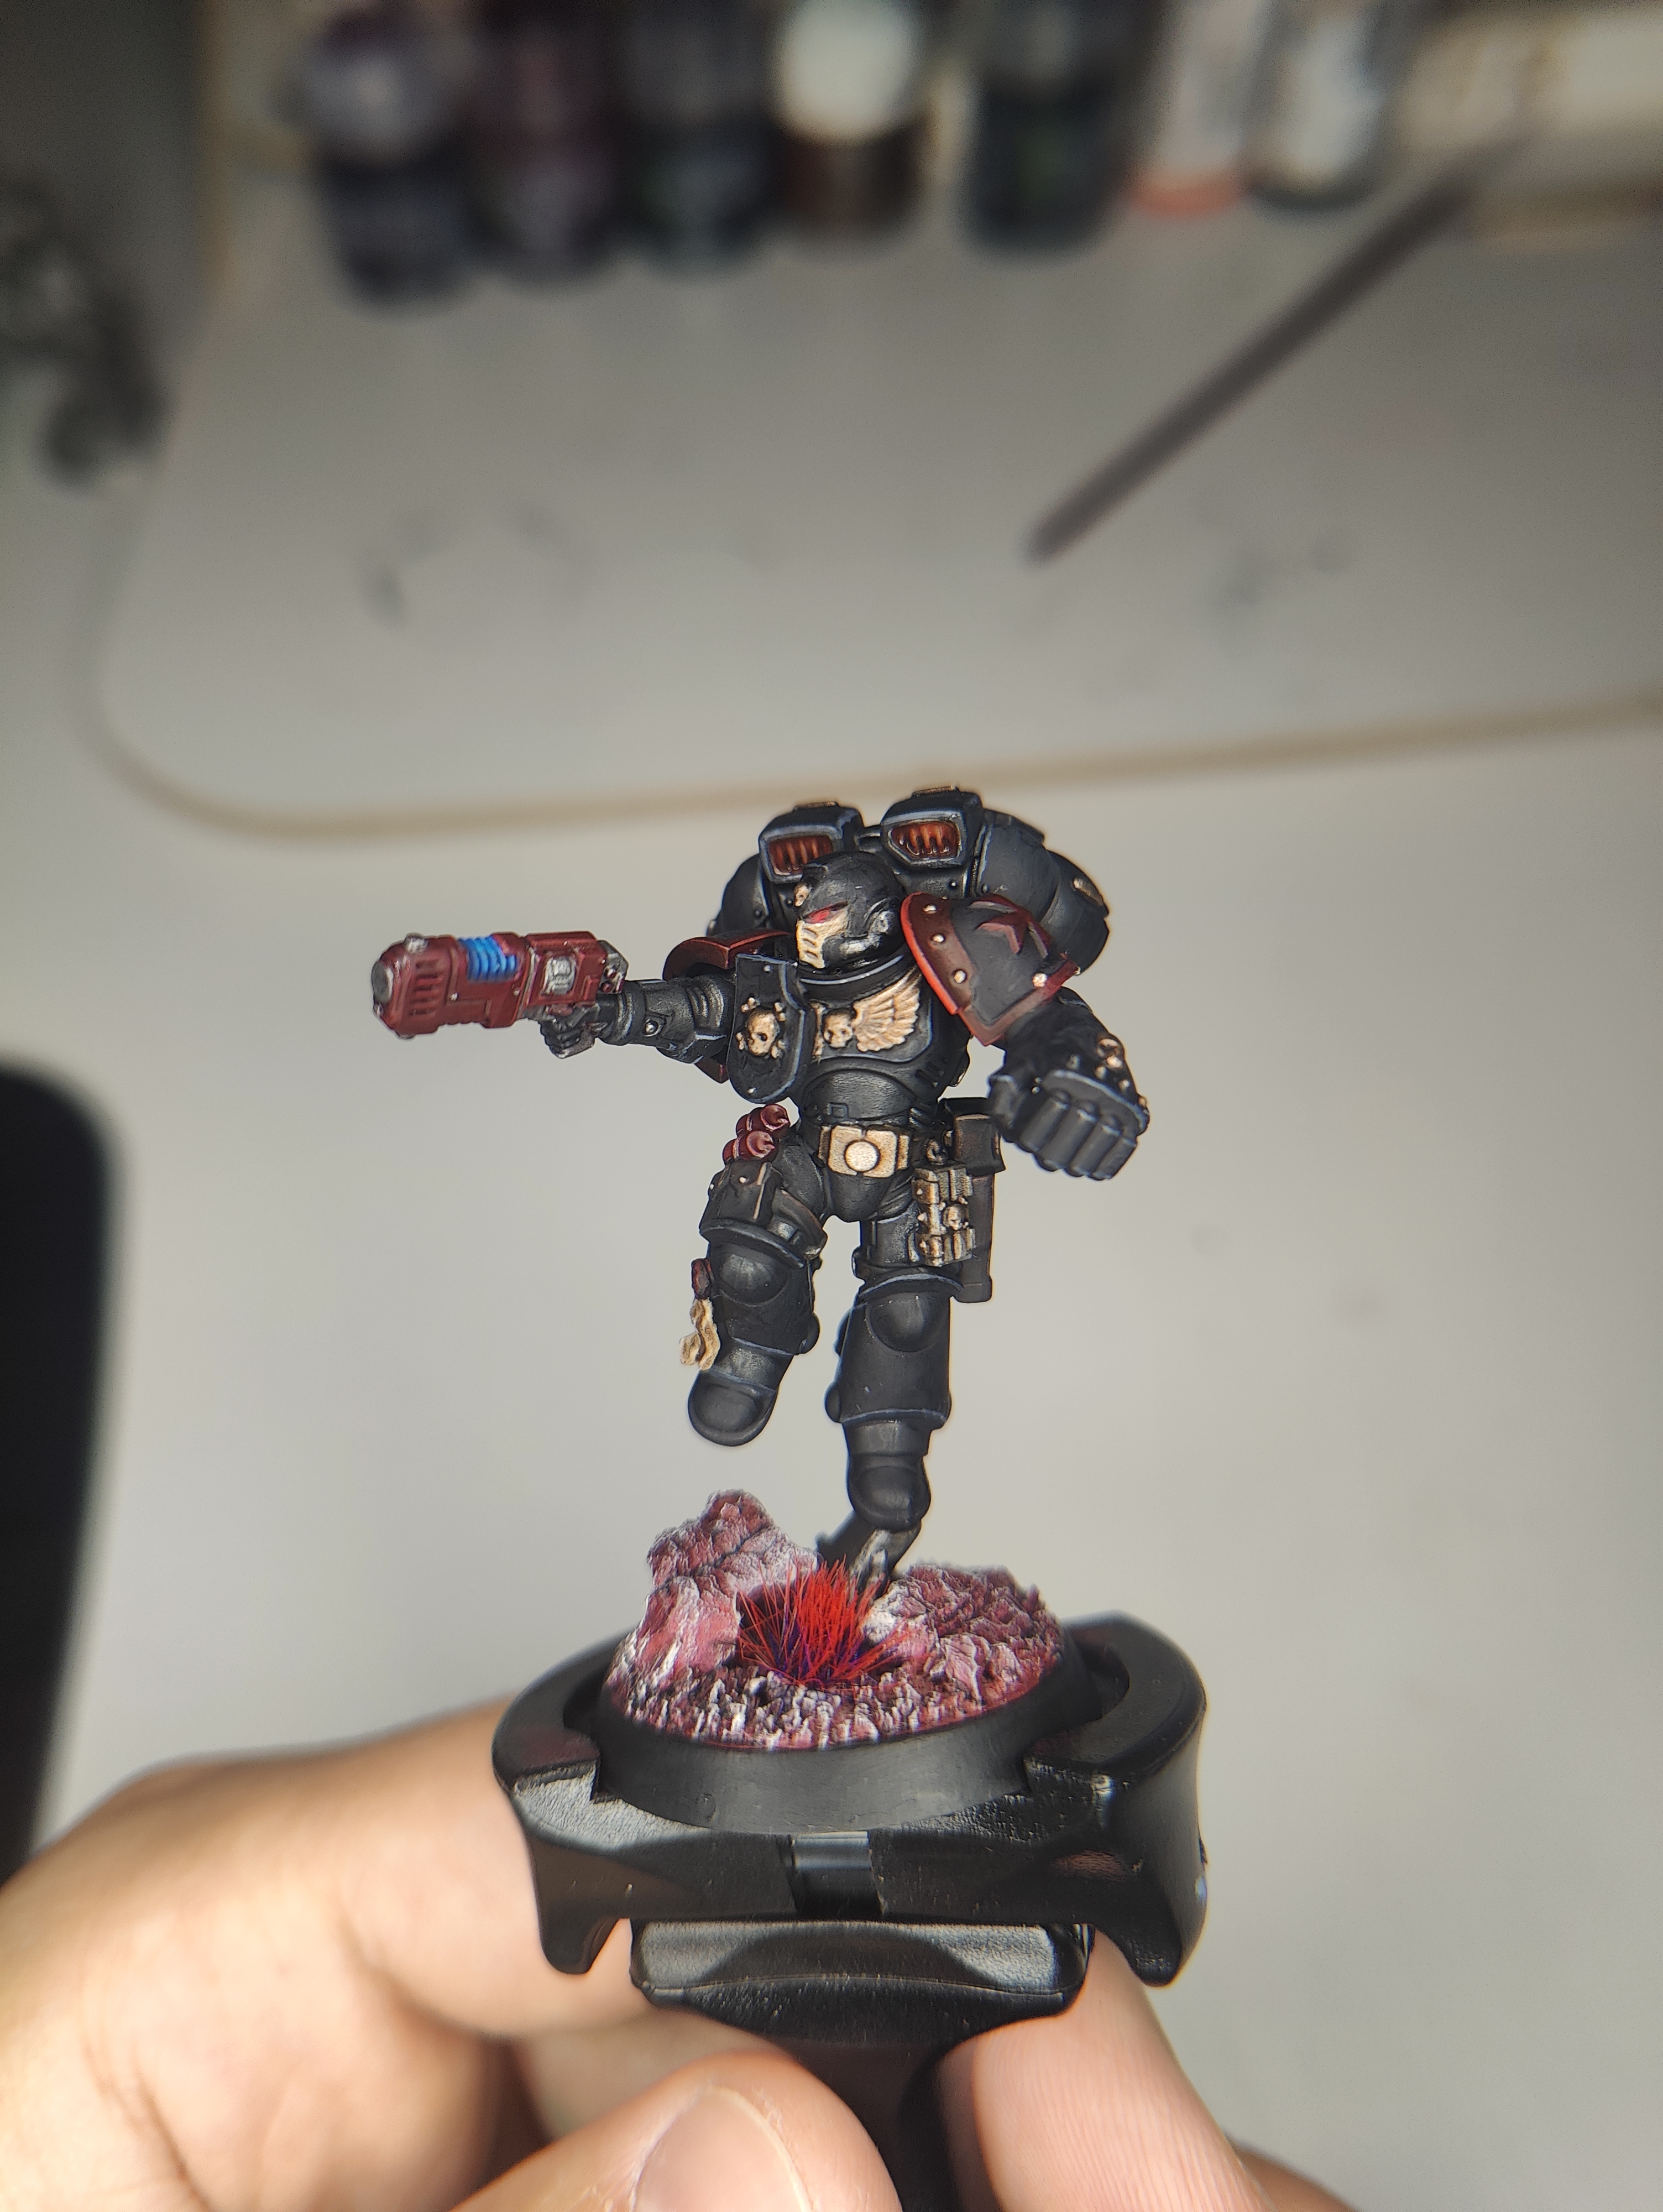

That is the key takeaway: texture gives structure, paint gives character.
Why paint the basing material?
Natural-looking sand, grit, cork, or stones often look fine on their own, but once they sit next to a painted miniature, unpainted basing material can stand out in the wrong way. It may look too raw, too clean, or simply disconnected from the rest of the model.
Painting the base helps us:
- tie the base into the miniature’s palette,
- create a specific environment,
- make cheap/simple materials look much better,
- reuse the same hobby materials across very different projects.
So even if two bases start from exactly the same ingredients, they do not need to end up looking anything alike.
The practical question: when do we do it?
The question that came up in chat was very relatable: do we glue the grit and stones first and then prime everything together, or do we somehow paint the base after the miniature is already finished?
From the examples Wilini shared, the important point is that both versions were painted. The basing material was not left raw.
In practice, a lot of us usually go with one of these approaches:
1. Basing before priming
This is the most straightforward method.
- Glue sand/grit/stones onto the base.
- Let it dry properly.
- Prime the whole model, base included.
- Paint the miniature and the base as part of the same project.
This is great if we already know what kind of environment we want.
2. Basing after the miniature is mostly finished
This also works, especially if we do not want to fight the base while painting boots, robes, or lower details.
- Finish most or all of the miniature.
- Add basing materials carefully.
- Prime or undercoat the base area as needed.
- Paint the texture to match the scheme.
This needs a bit more control, but it is completely valid.
Same material, different story
This is probably our favorite part of the tip. We do not need a separate tub of basing material for every army. The same grit can become:
- dusty badlands,
- cold grey rubble,
- warm earth,
- ash waste,
- ruined masonry.
The difference often comes from just a few choices:
- basecoat color,
- wash tone,
- drybrush highlight,
- whether the stone is painted warm, cold, dusty, or mossy.
That means we can keep our basing supplies simple and still get a lot of variety.
Our takeaway
If you have ever looked at your basing box and thought, “this is all the same stuff,” that is actually good news. You do not always need new materials — often you just need a different paint recipe.
Wilini’s examples are a great reminder that the exact same scatter and pebble can look completely different once painted in another palette.
So if you are experimenting with bases, do not be afraid to treat the ground like any other part of the miniature: prime it, paint it, shade it, drybrush it, and make it belong.
Sometimes the base really is what finishes the whole model.