Grey Prime, Sharp Highlights, and a Very Tempting Army Painting Idea
We had one of those very relatable hobby moments recently: someone drops a photo into chat, and immediately the rest of us start thinking not just “that looks amazing”, but also “okay, how would we paint a whole army like that?”
That was exactly the vibe here.
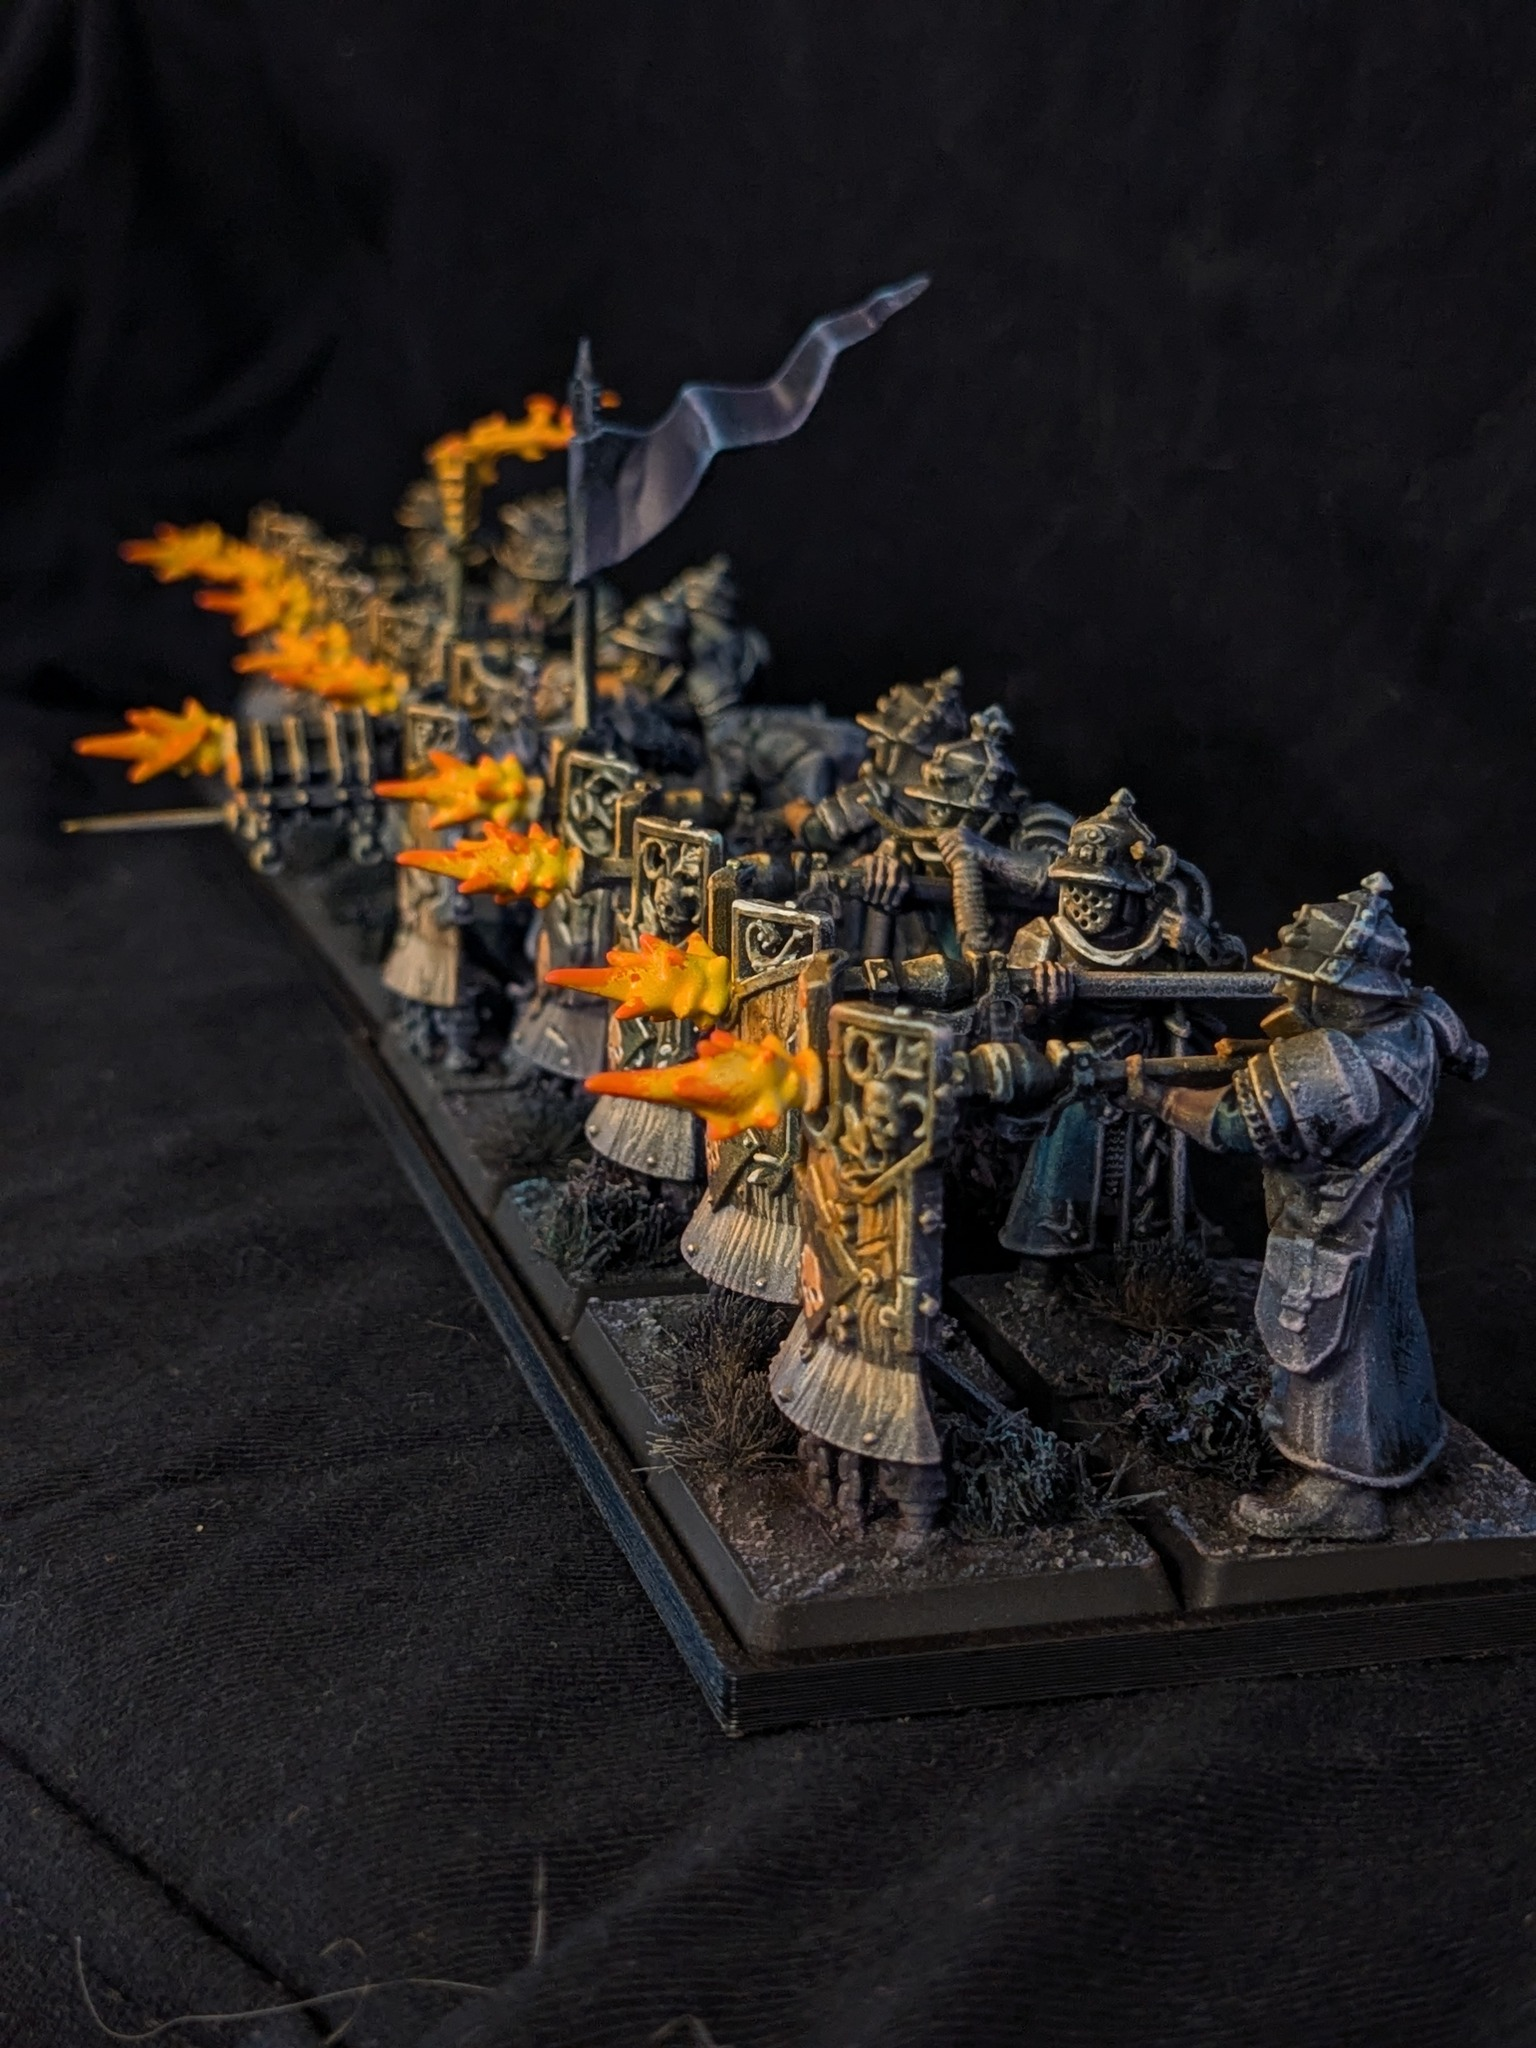
Michał was the first to react, and honestly, same energy from us: this looked really, really good. The kind of paintjob that instantly makes you stop scrolling and start mentally reorganizing your painting queue.
A moment later, Stas threw in what feels like a very practical and very promising approach:
prime it grey and then build it up with highlights
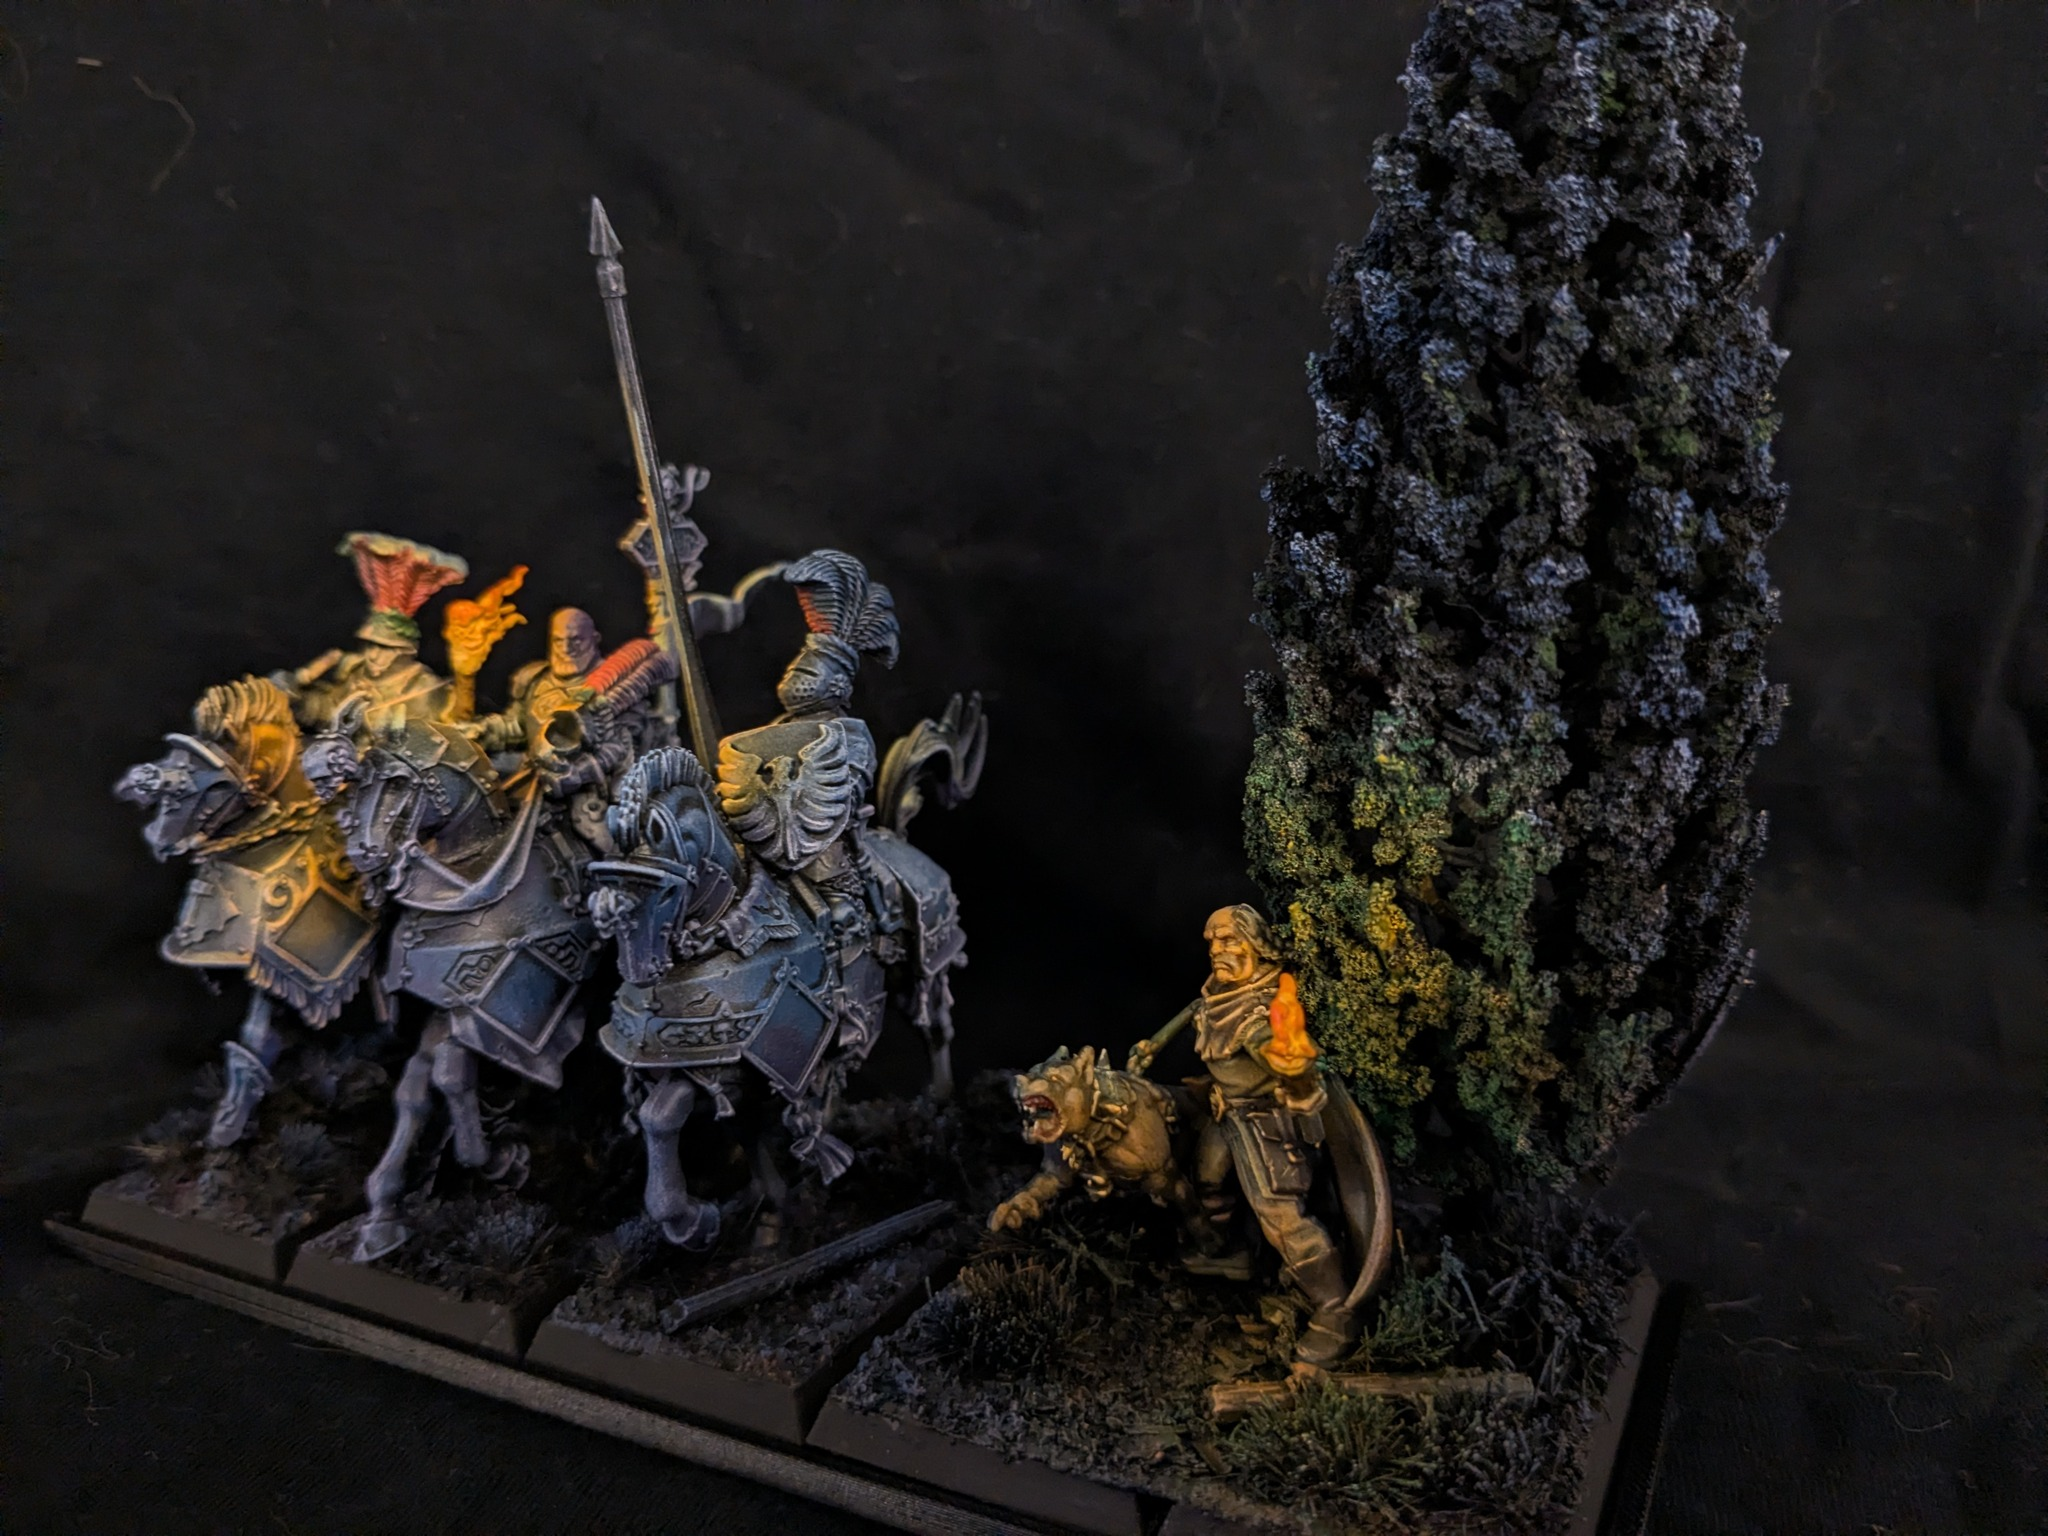
And the more we thought about it, the more it felt like a genuinely smart direction for this kind of look. Starting from a grey base could make it much easier to keep the whole scheme cohesive, controlled, and nicely desaturated, while still letting the highlights do the heavy lifting.
Dubry’s reaction was short, but said everything it needed to:
Oh, that’s so good
Then Michał asked the question that always appears sooner or later when a cool single-model idea shows up:
I wonder whether it would be better to paint an army like this the way Stas says, or first paint the whole thing in the main colour and then dust it down darker with an airbrush.
And honestly, that is the most interesting part of the whole exchange.
Two ways to approach the same effect
From our chat, two possible workflows emerged:
1. Grey prime + highlights
This is the cleaner, more “built from the ground up” method. Start from a grey primer, then define the volumes and edges with lighter highlights. That approach sounds especially appealing if the final effect depends on subtle transitions and a controlled, slightly muted overall tone.
2. Full base colour first, then darken with the airbrush
The second option feels more atmospheric. Instead of building brightness from grey, you establish the main colour first and then use the airbrush to knock it back down with darker shading. That could work really well if the goal is a moodier, dusted, grimier army with a lot of visual unity across the whole force.
The real hobby question
What we like most here is that this wasn’t just “nice mini” appreciation. It instantly turned into the classic group hobby discussion: what is the best way to scale a cool effect up to an entire army?
Because that’s always the real test, isn’t it? A scheme can look incredible on one model, but the moment we start thinking in batches, movement trays, vehicles, monsters, and the fiftieth infantry body, the process matters just as much as the final result.
At this stage we don’t have a final verdict yet — just a genuinely good painting question and two strong ideas worth testing. If we end up trying either route on actual minis, we’ll definitely want to compare the results side by side.
For now, we’re just enjoying that very dangerous phase of the hobby: seeing something cool and immediately wanting to paint an entire army because of it.