Kill Team League at 2d6: Salamanders vs Kasrkin on a Tomb World
We had one of those very hobby-real weeks: a quick hobby desk update from Wilini, a lot of “no time to build or paint,” travel plans before dawn, and then a league night where End3r took Deathwatch-flavoured Salamanders into a Kill Team match against Kasrkin at 2d6.
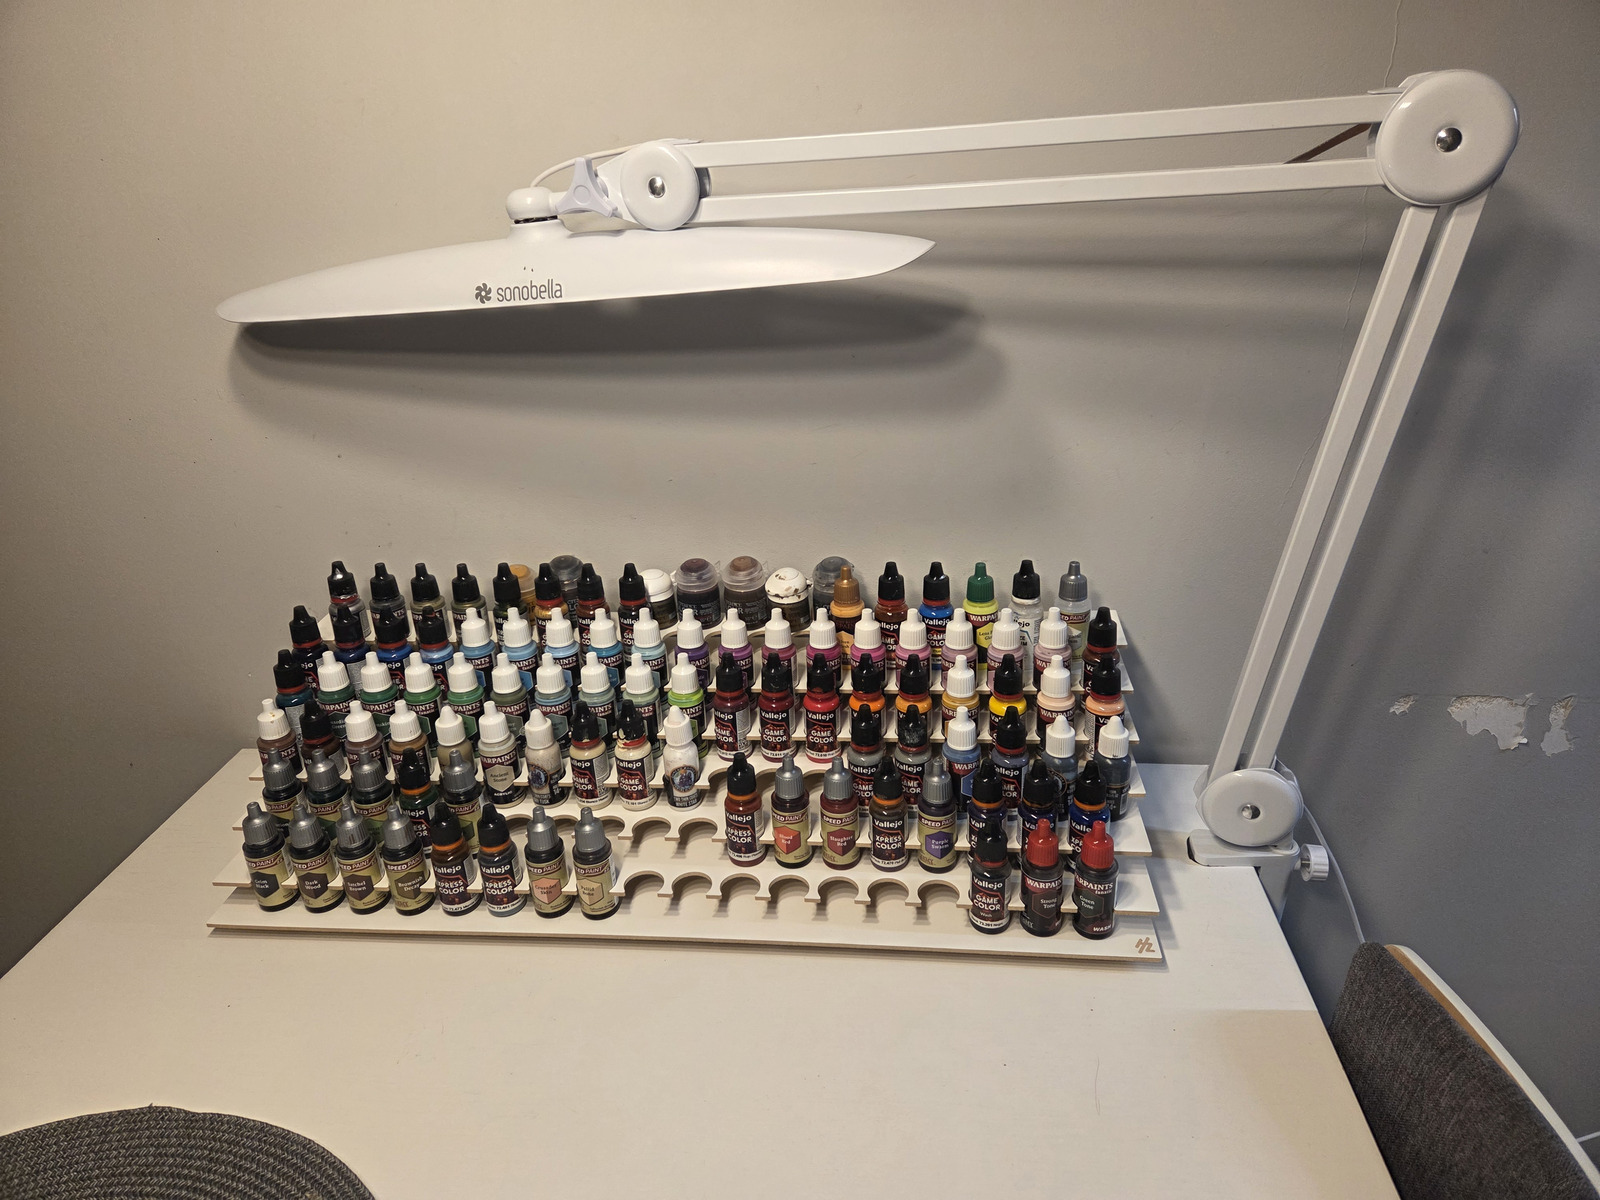
Wilini summed up the mood perfectly: the workstation is alive, but the week was so wrecked that there was basically no time for hobby progress. Maybe after coming back from Italy.
Meanwhile, End3r went into the second game of the local league with a healthy amount of caution. The first league game had already ended in a loss with Angels of Death, and this time the plan was to try Kasrkin for what might actually have been the first time. On paper, they shoot hard, but they are still not Space Marines — which, as we all know, changes the feel of a team quite a bit.
And then the match happened.
The setup
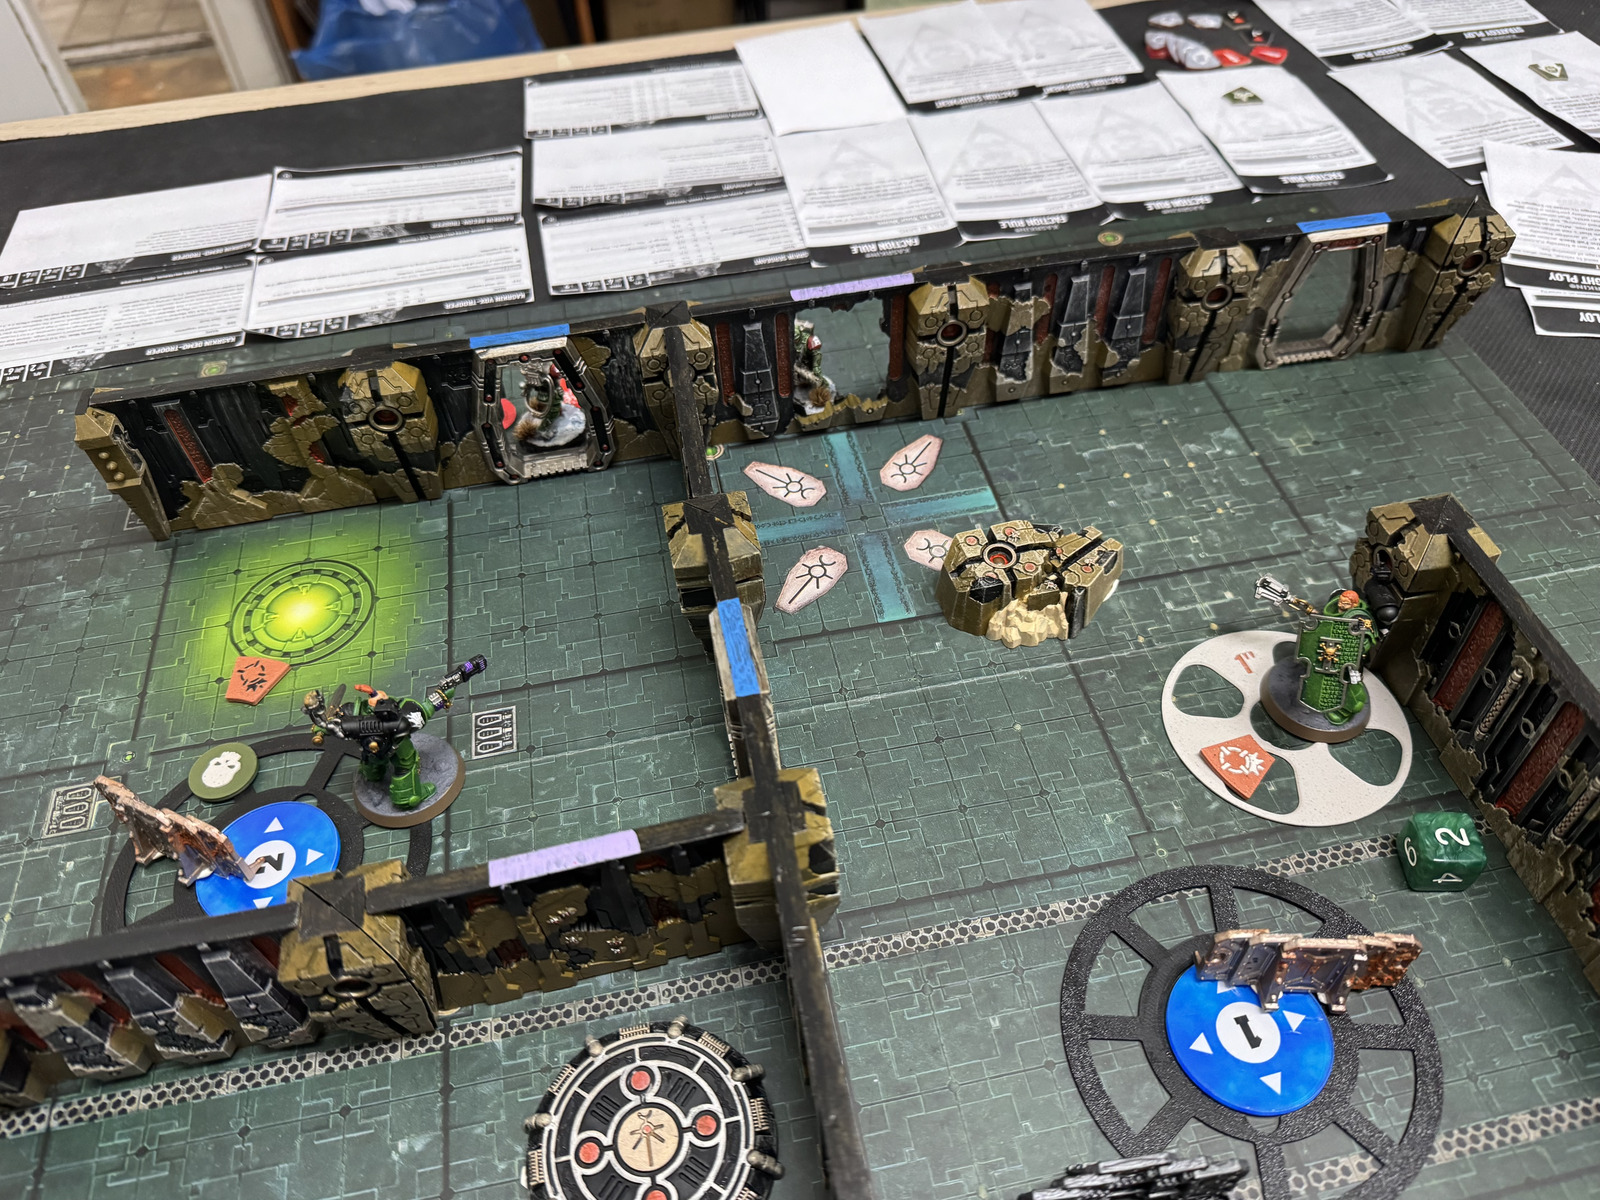
The game was played in the Kill Team league at 2d6, with Deathwatch Salamanders facing Kasrkin on Tomb World terrain. For this mission, End3r made a small but very important roster change: instead of the recently standard Gunner, he brought a Blademaster. The thinking was simple and very sensible — in tight corridors against a shooting-focused opponent, a long blade might do more work than another gun.
That turned out to be a very good call.
Turning Point 1: careful approach
The Salamanders started boldly, but not recklessly. The key was making sure nobody got picked off in the very first turning point. So the opening was mostly a tense game of positioning, probing angles, and trying not to hand Kasrkin any easy shots.
No huge explosions yet — just that classic Into the Dark-style feeling of something horrible is about to happen as soon as someone opens a door or blows a wall apart.
Turning Point 2: the wall comes down
That horrible thing happened quickly.
On the left flank, the Salamanders saw their chance. The Breacher stepped up and immediately kicked a hole through the wall, aiming to create a fast opening and secure the first Kasrkin kill. It was an aggressive move and exactly the kind of play we love seeing in cramped board layouts.
Unfortunately, the shooting that followed was… not great. The target somehow survived.
Then the firefight escalated. The Breacher took a melta shot to the head and was left on just 2 wounds, but somehow stayed standing. That alone already sounds like one of those moments that keeps a game alive.
The Salamanders hit back hard and dropped two Kasrkin in return, but the room kept filling with more guardsmen, so the numerical advantage still sat on the Kasrkin side.
And then in came the Blademaster.
He charged into the room, carved through one Kasrkin, then shot another, and on top of that scored points for Download. That sequence really feels like the moment the roster choice paid off in full.
The right flank: absolute violence
While the left side was turning into a desperate room fight, the right flank was no quieter.
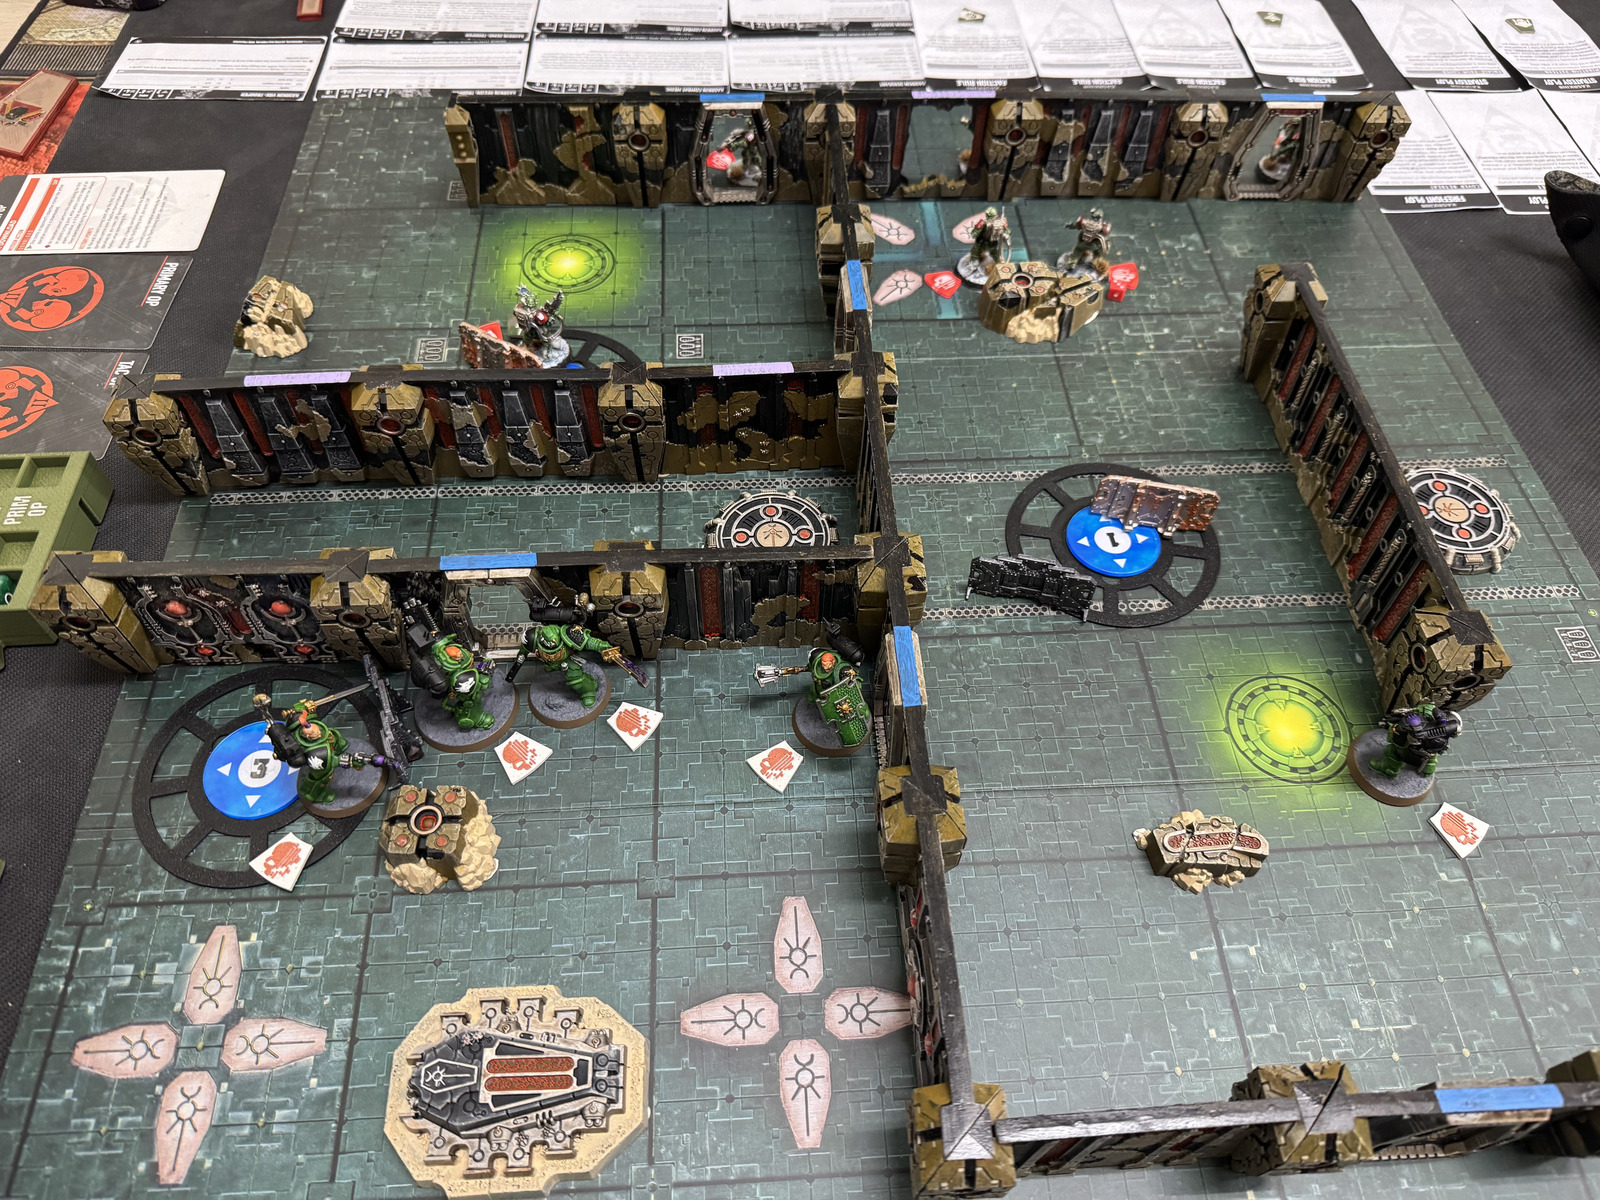
The Aegis sprinted into cover and sat on the objective. The Kasrkin answered bravely, taking the point with a trooper and medic. For a moment, it looked like they might stabilize that side.
Then the Disruptor ran up next to the Aegis and simply erased both of them at close range with Blast.
That was not the end of the story, because the Disruptor was then shot down by the Kasrkin leader with plasma. But in a beautiful little bit of battlefield irony, that same leader was left on 1 wound and then blew himself up from overheating.
We always appreciate when plasma reminds everyone that it serves the Emperor, but not safely.
Aegis cleans up
The Aegis still had work to do.
He charged the third Kasrkin in the room and tore his head off with a mace, then kept pushing to hunt down the survivors on their side of the board. At that point, the Salamanders had taken control of the flow of the game, even if it had not felt fully secure all the way through.
Because that is the other important part of this report: despite the final score, there was a moment around Turning Point 3 where things got genuinely tense for the Salamanders. The fast loss of both the Breacher and the Disruptor made it feel a lot less comfortable. If the Kasrkin had won the fight for the room on the left flank, the entire match could have swung in a very different direction.
Instead, the Salamanders held on, converted key kills, and turned the game into a decisive victory.
Final score
Salamanders 17 – 4 Kasrkin
A big win on paper, but one with a lot more pressure in it than the result alone suggests.
Final thoughts
We really like this kind of game story: a cautious opening, one explosive breach, a roster choice that actually matters, and enough chaos in the middle that the final score does not tell the whole tale.
Big props to End3r for bouncing back after the first league loss and taking the win in style. Also, special mention to the Blademaster for proving that sometimes the correct answer to elite imperial gunfighters in a corridor is simply a very large sword.
If you want more of our hobby rambling, league games, and Warhammer chaos, keep an eye on the blog.