Necromunda Battle Report: Squats Hold the Toll Bridge
Sometimes a gang goes looking for trouble and finds exactly the right amount of it.
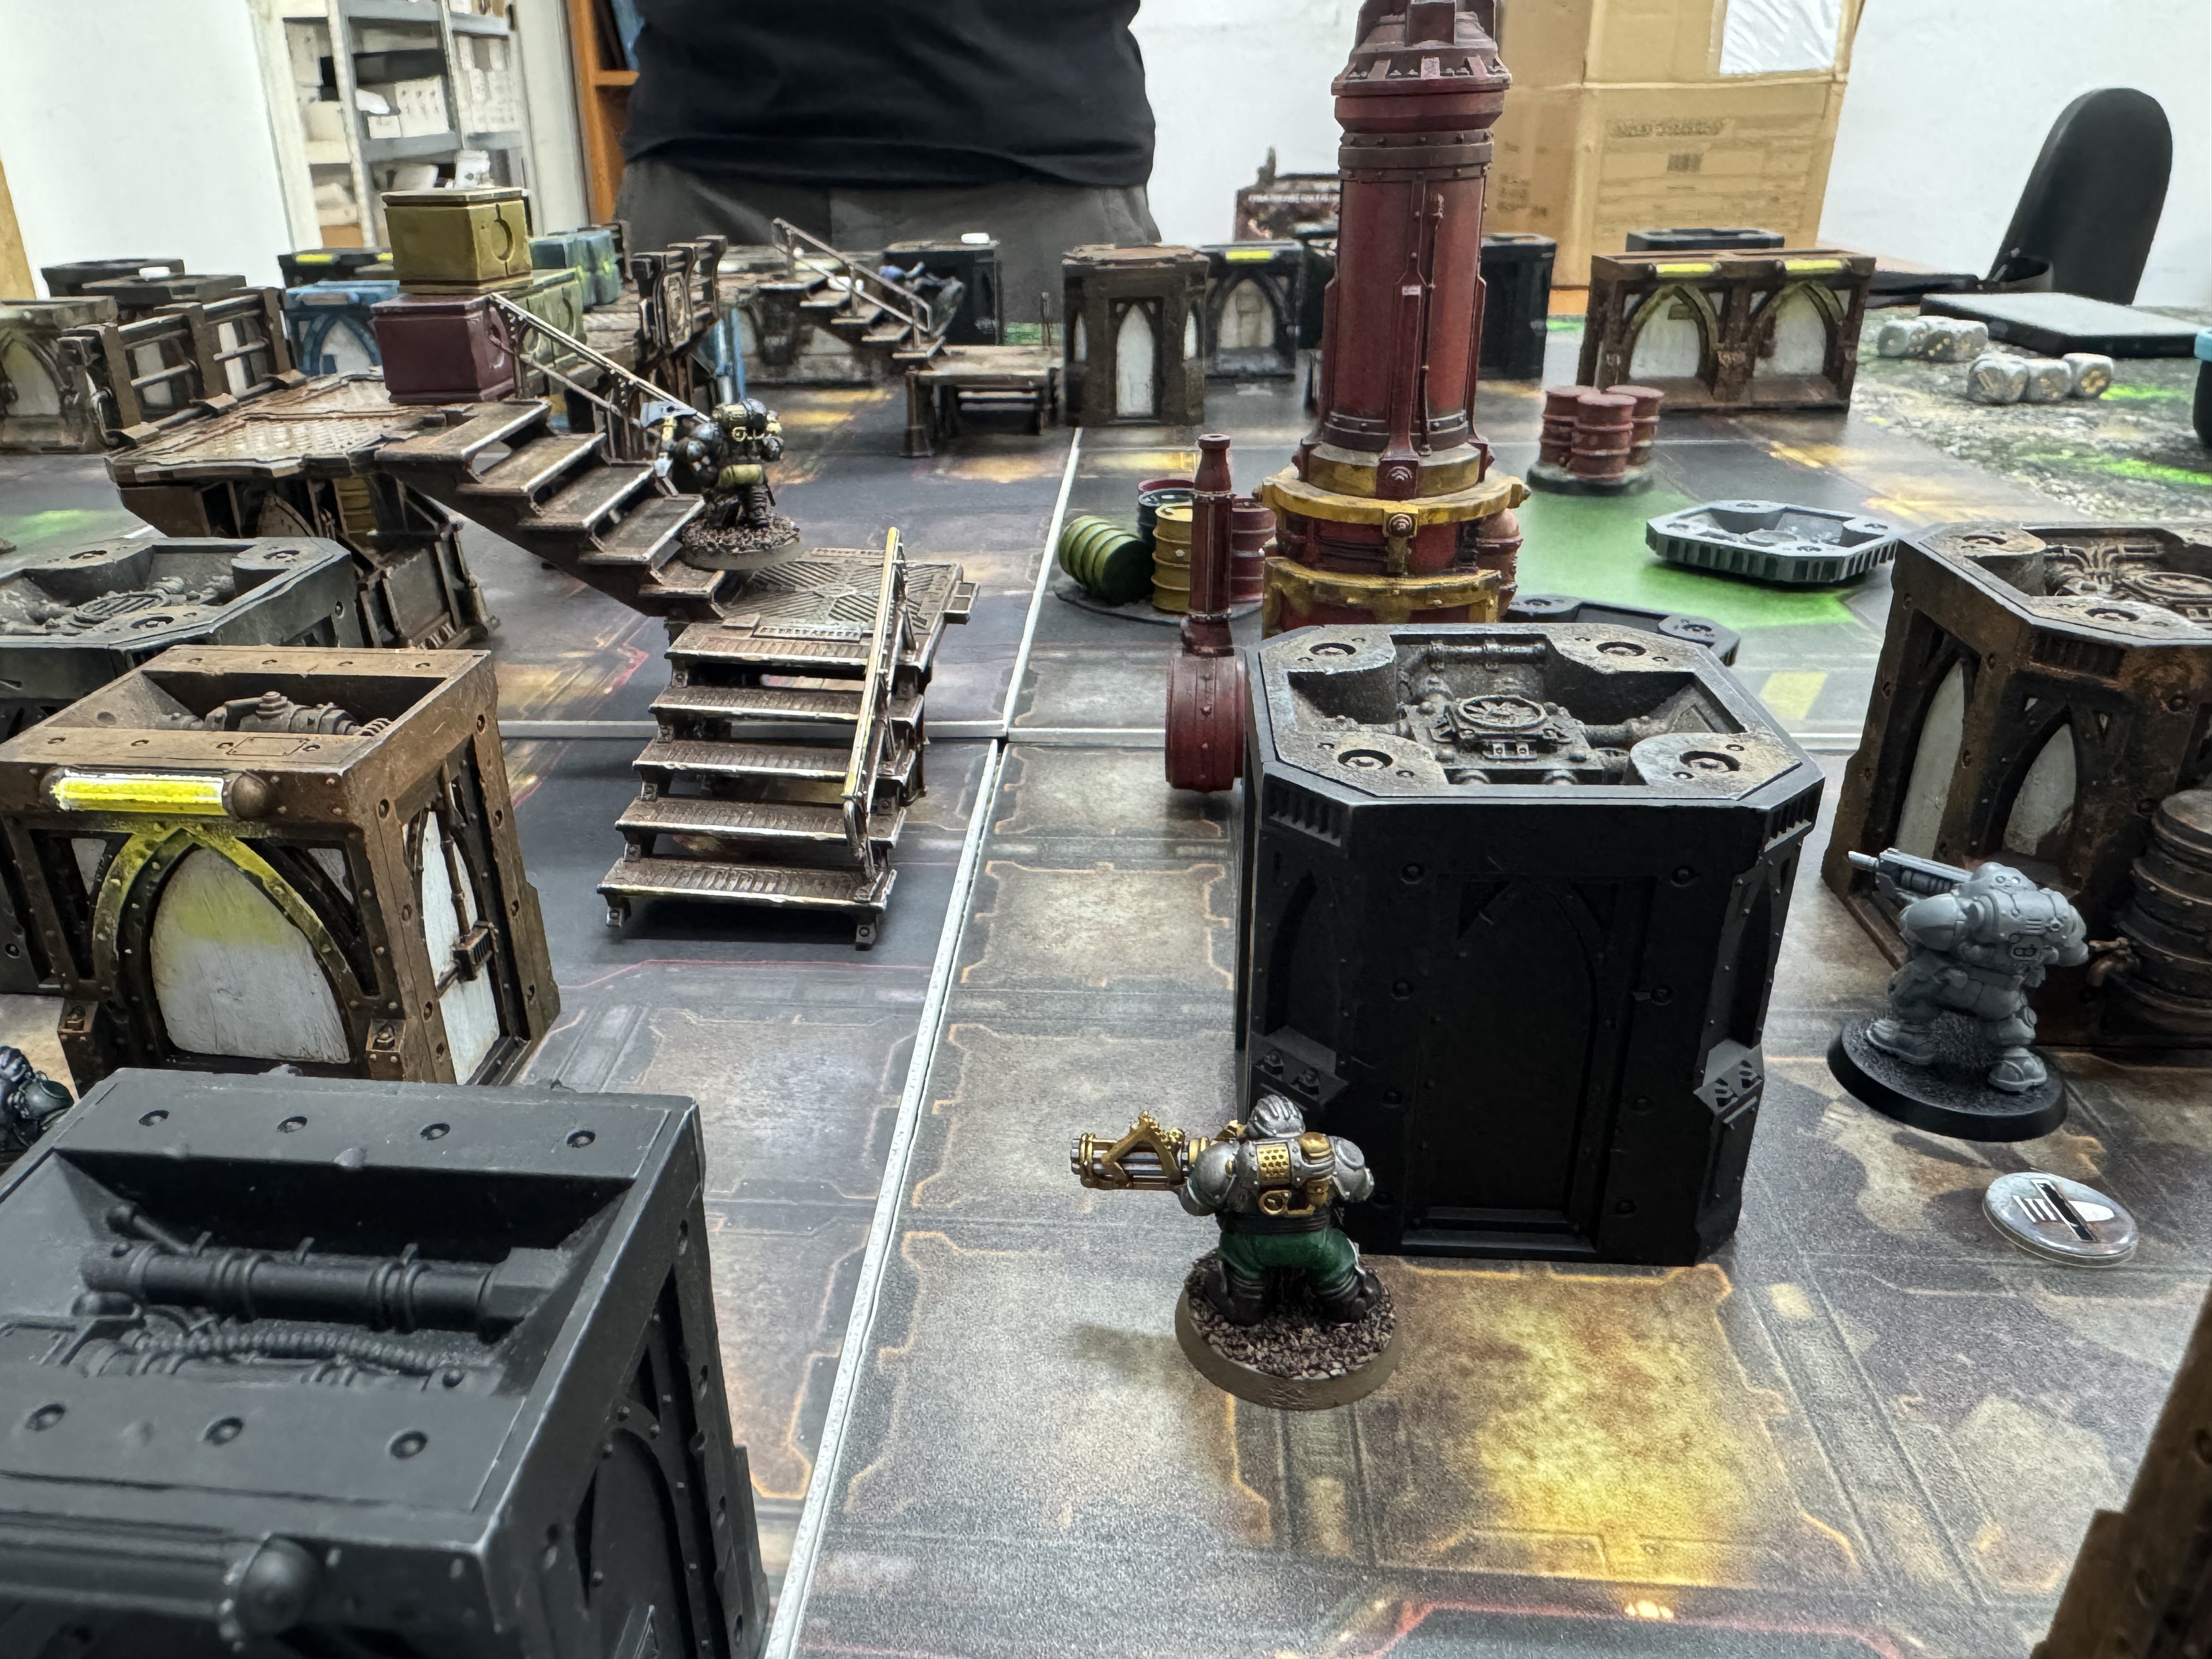
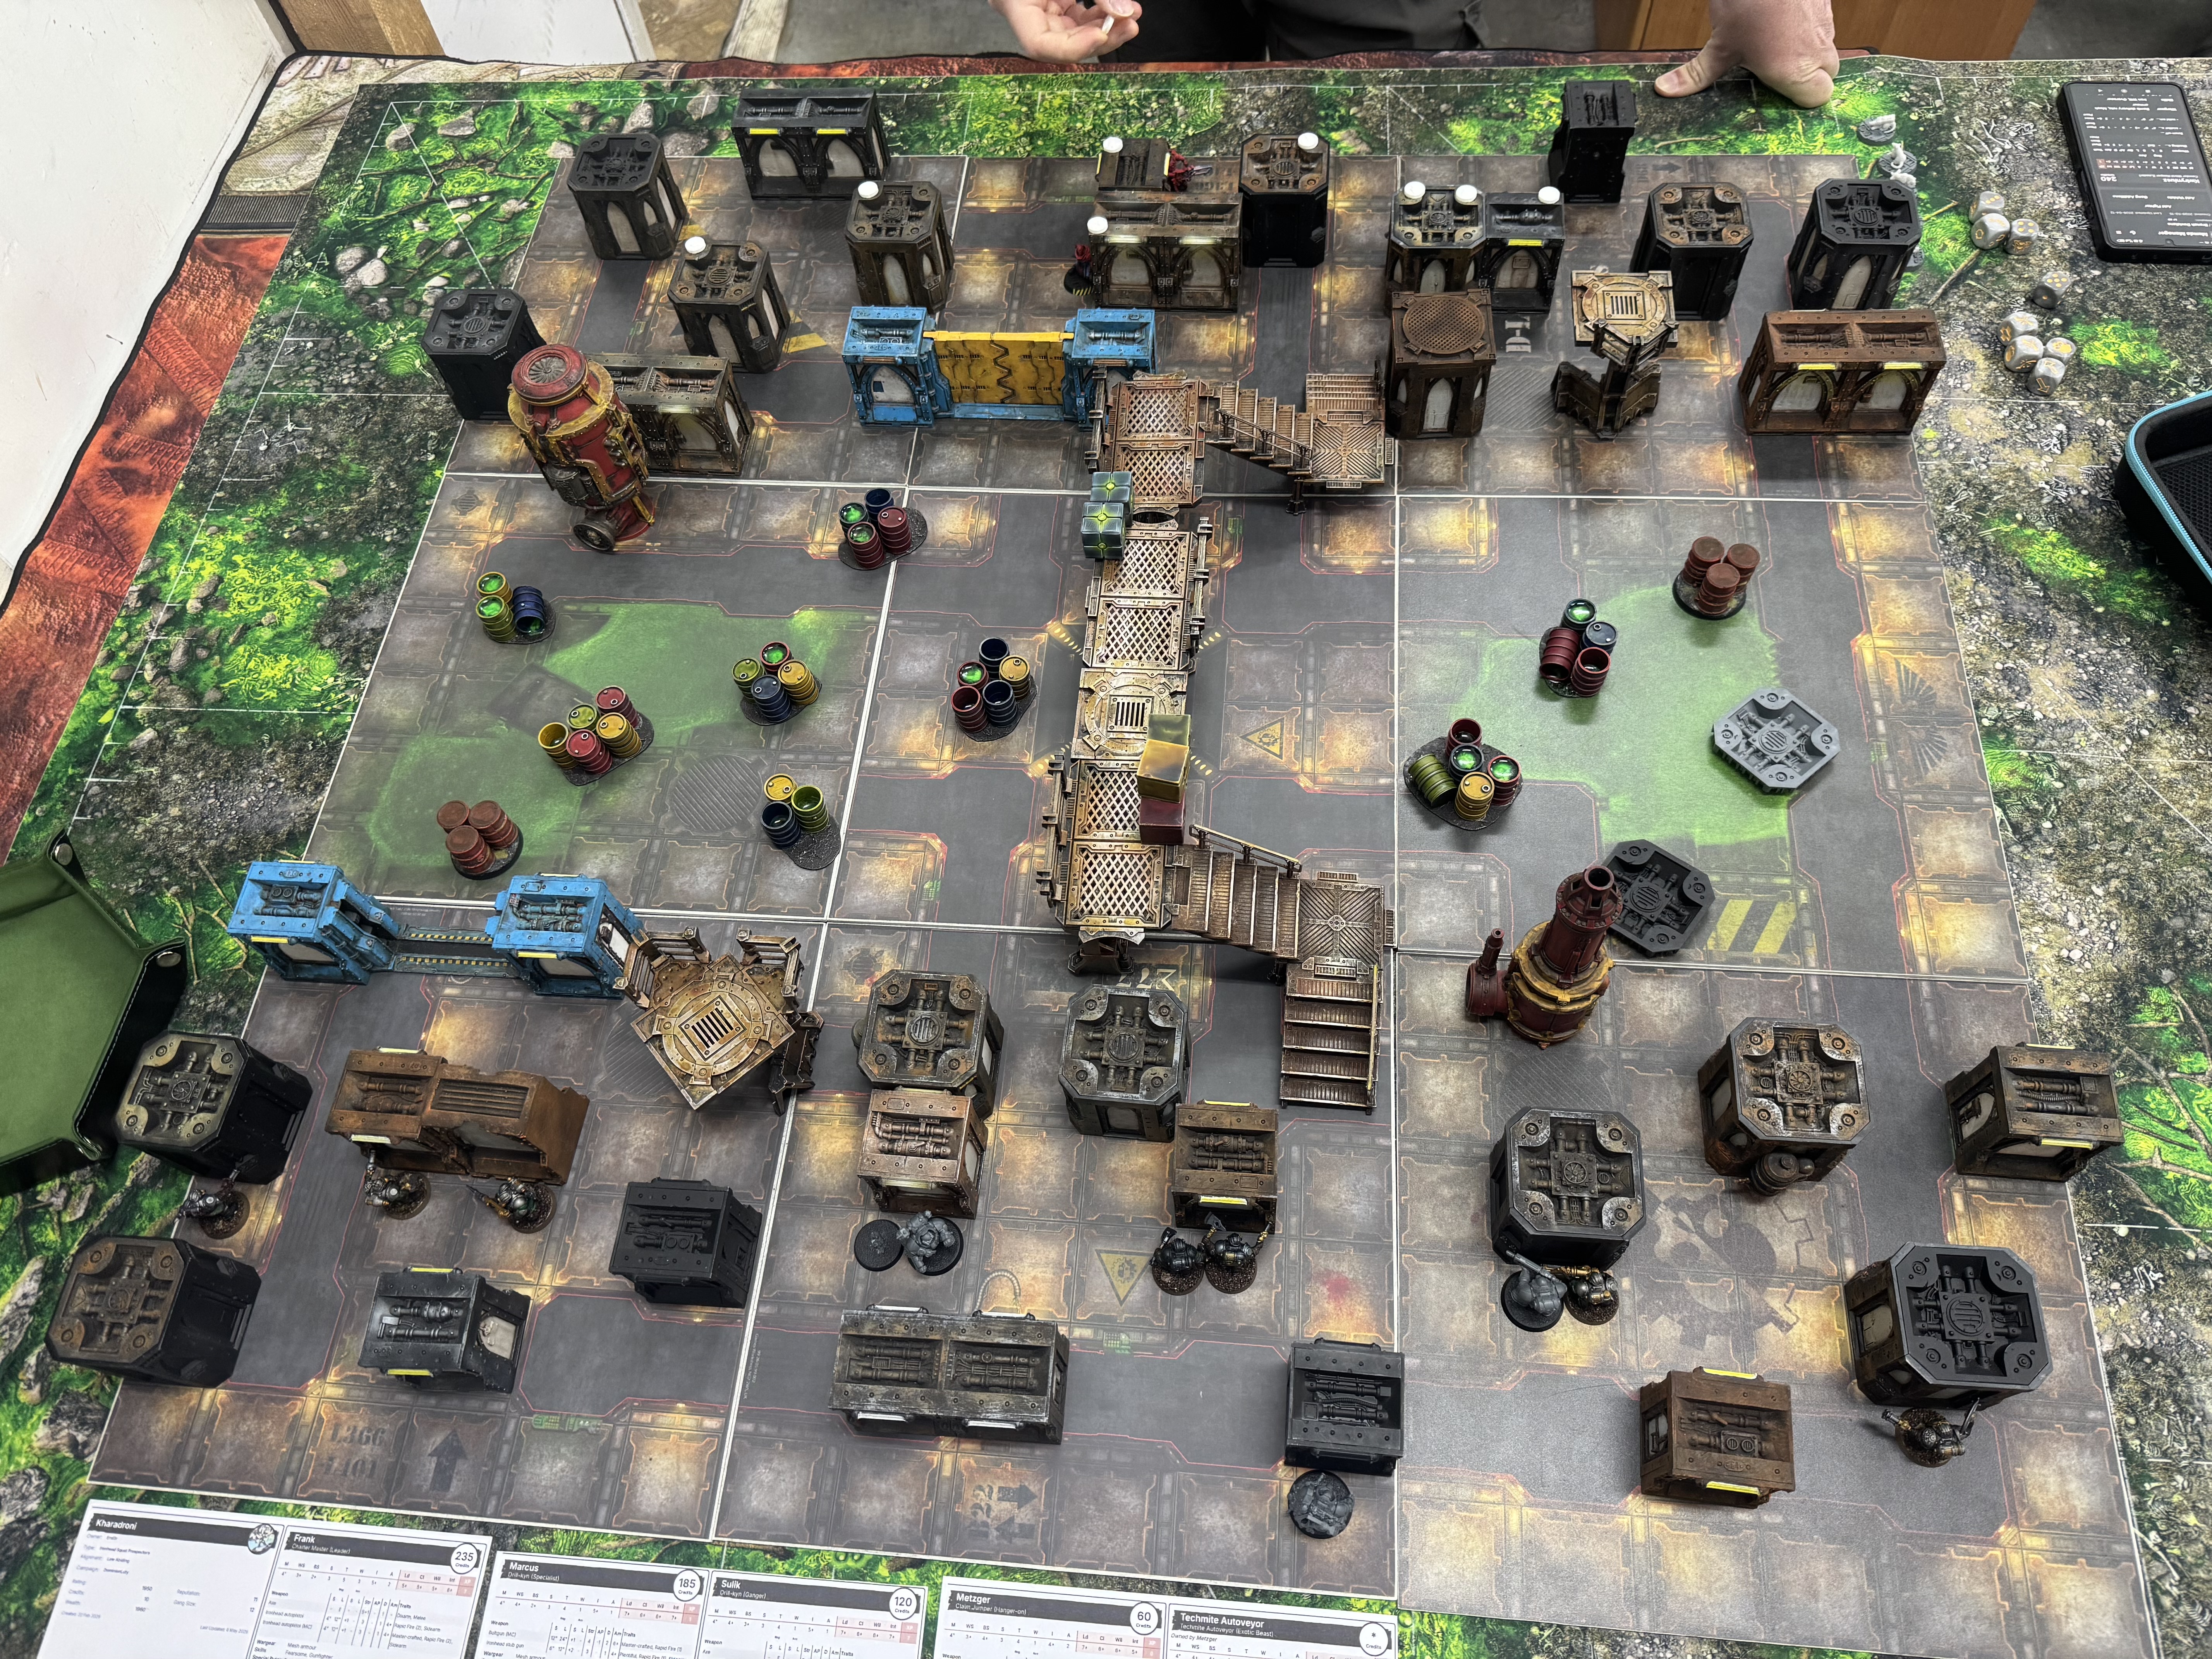
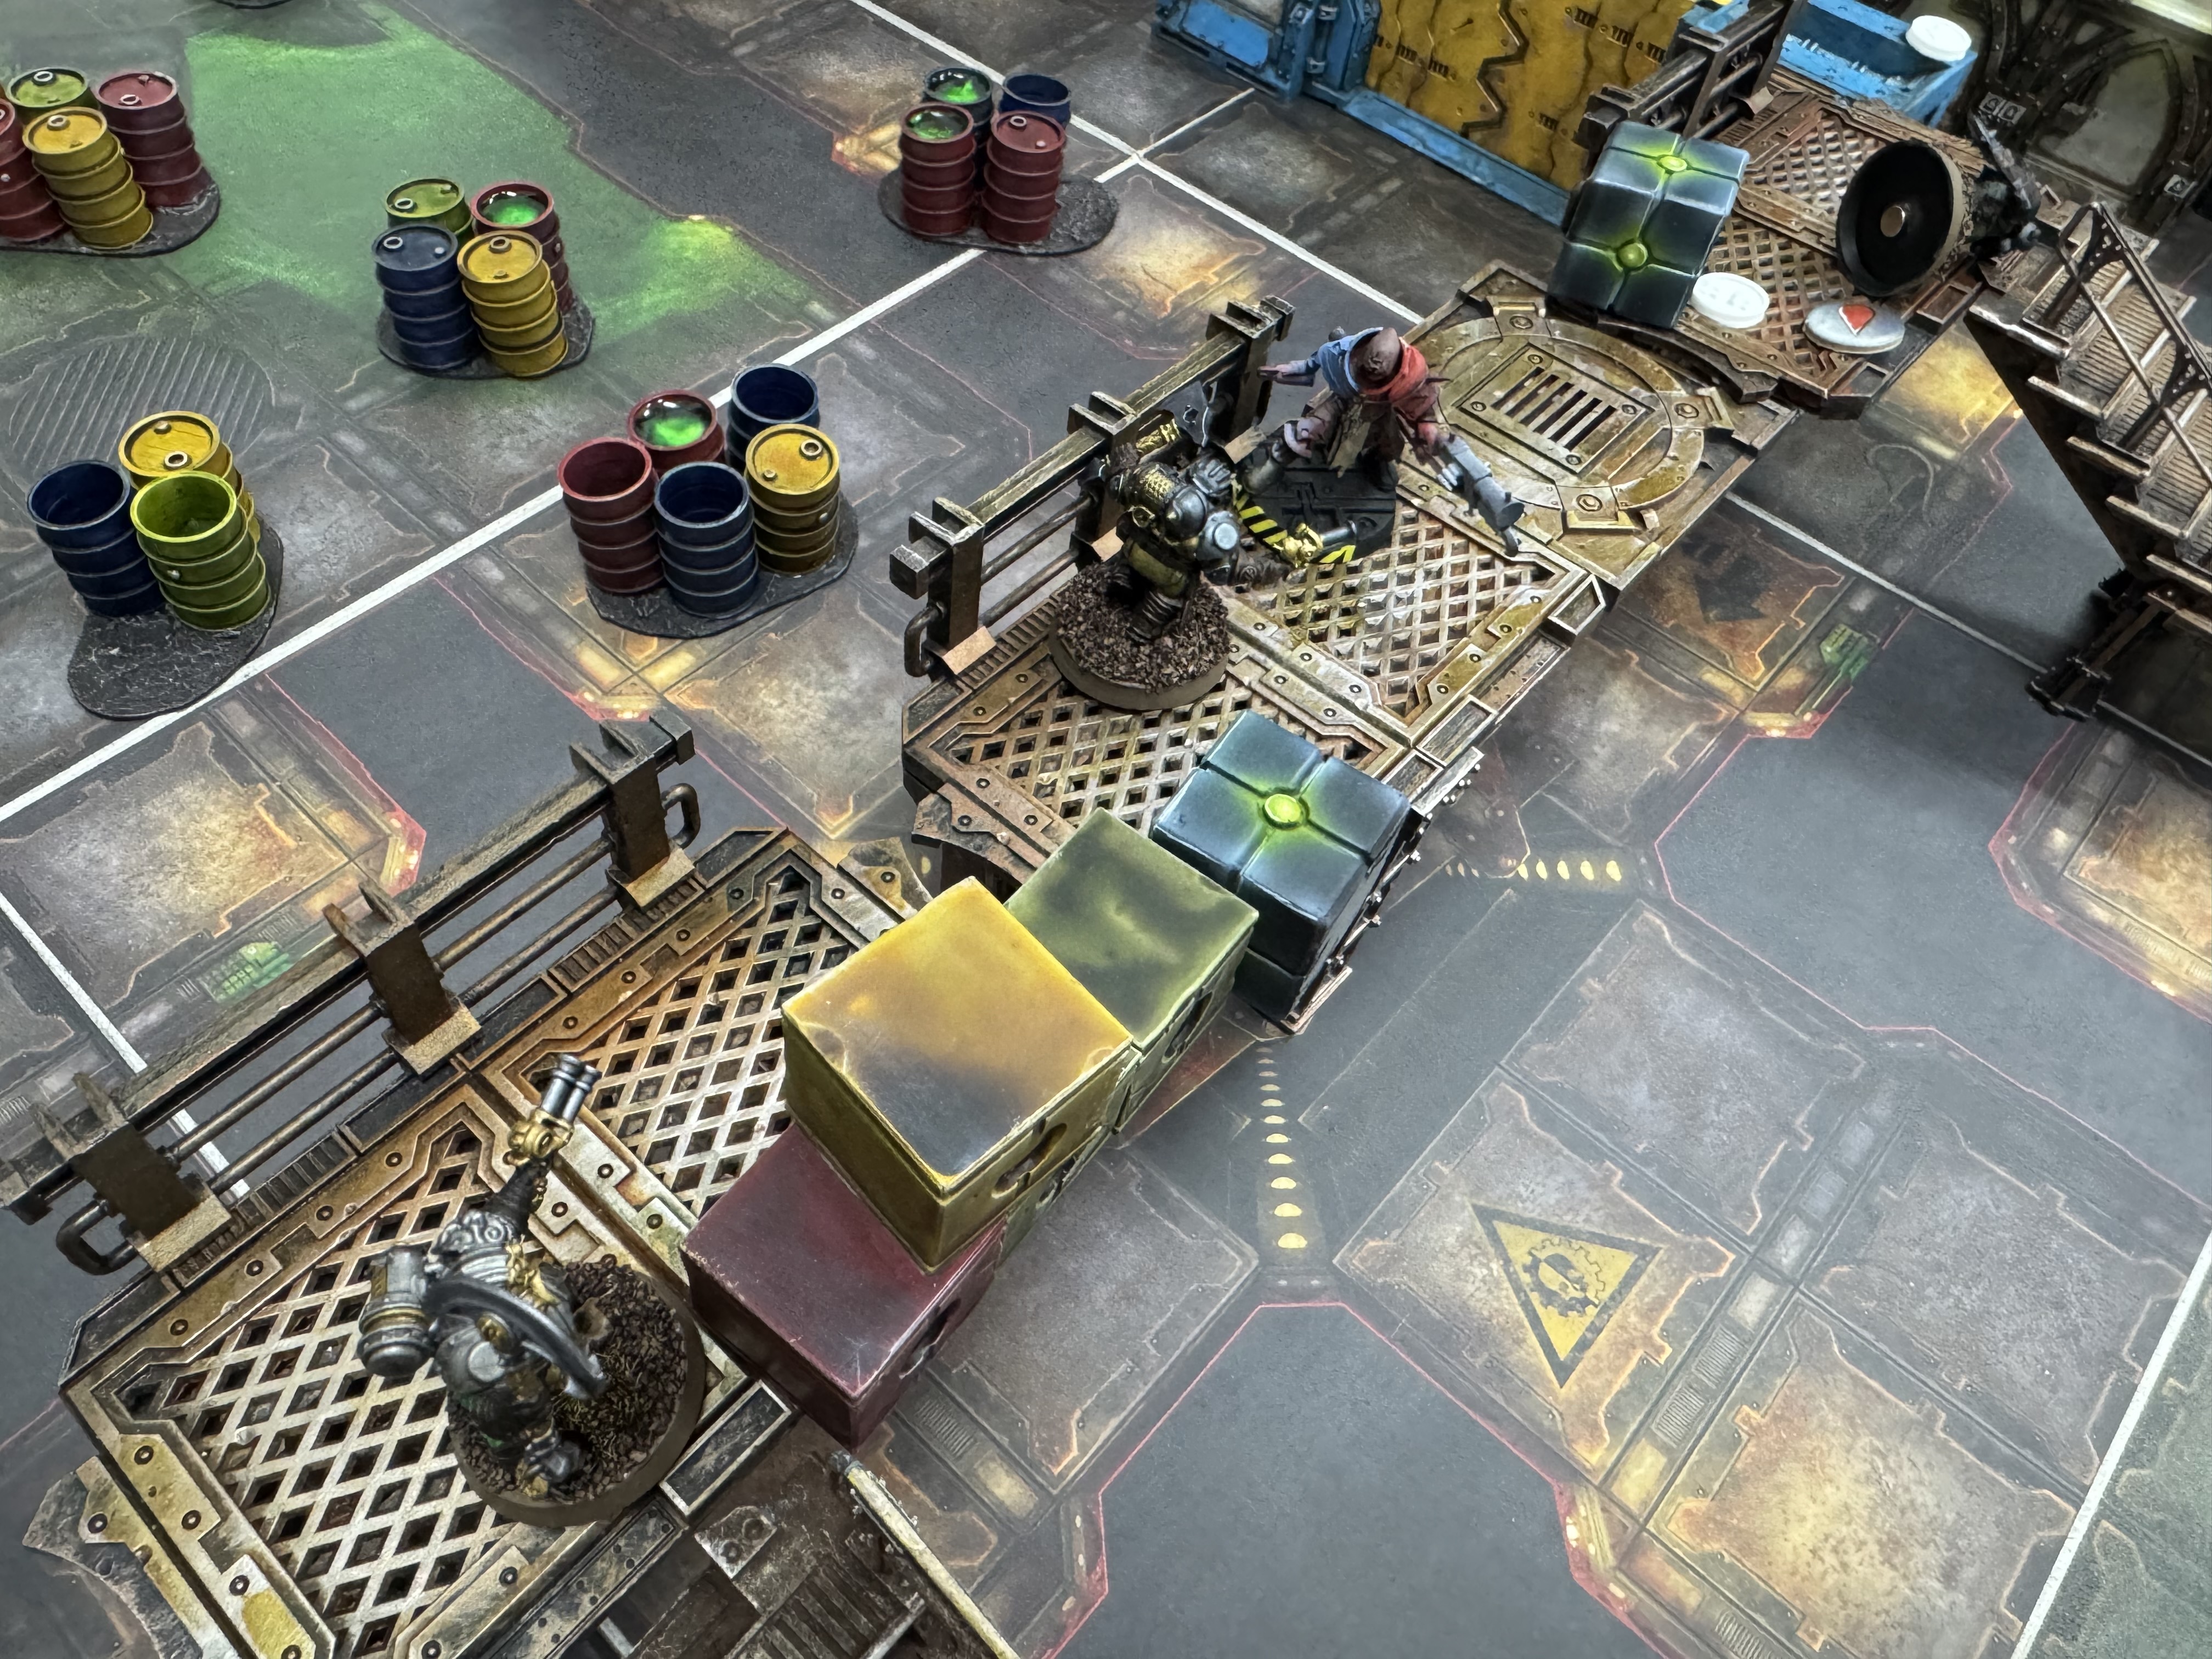
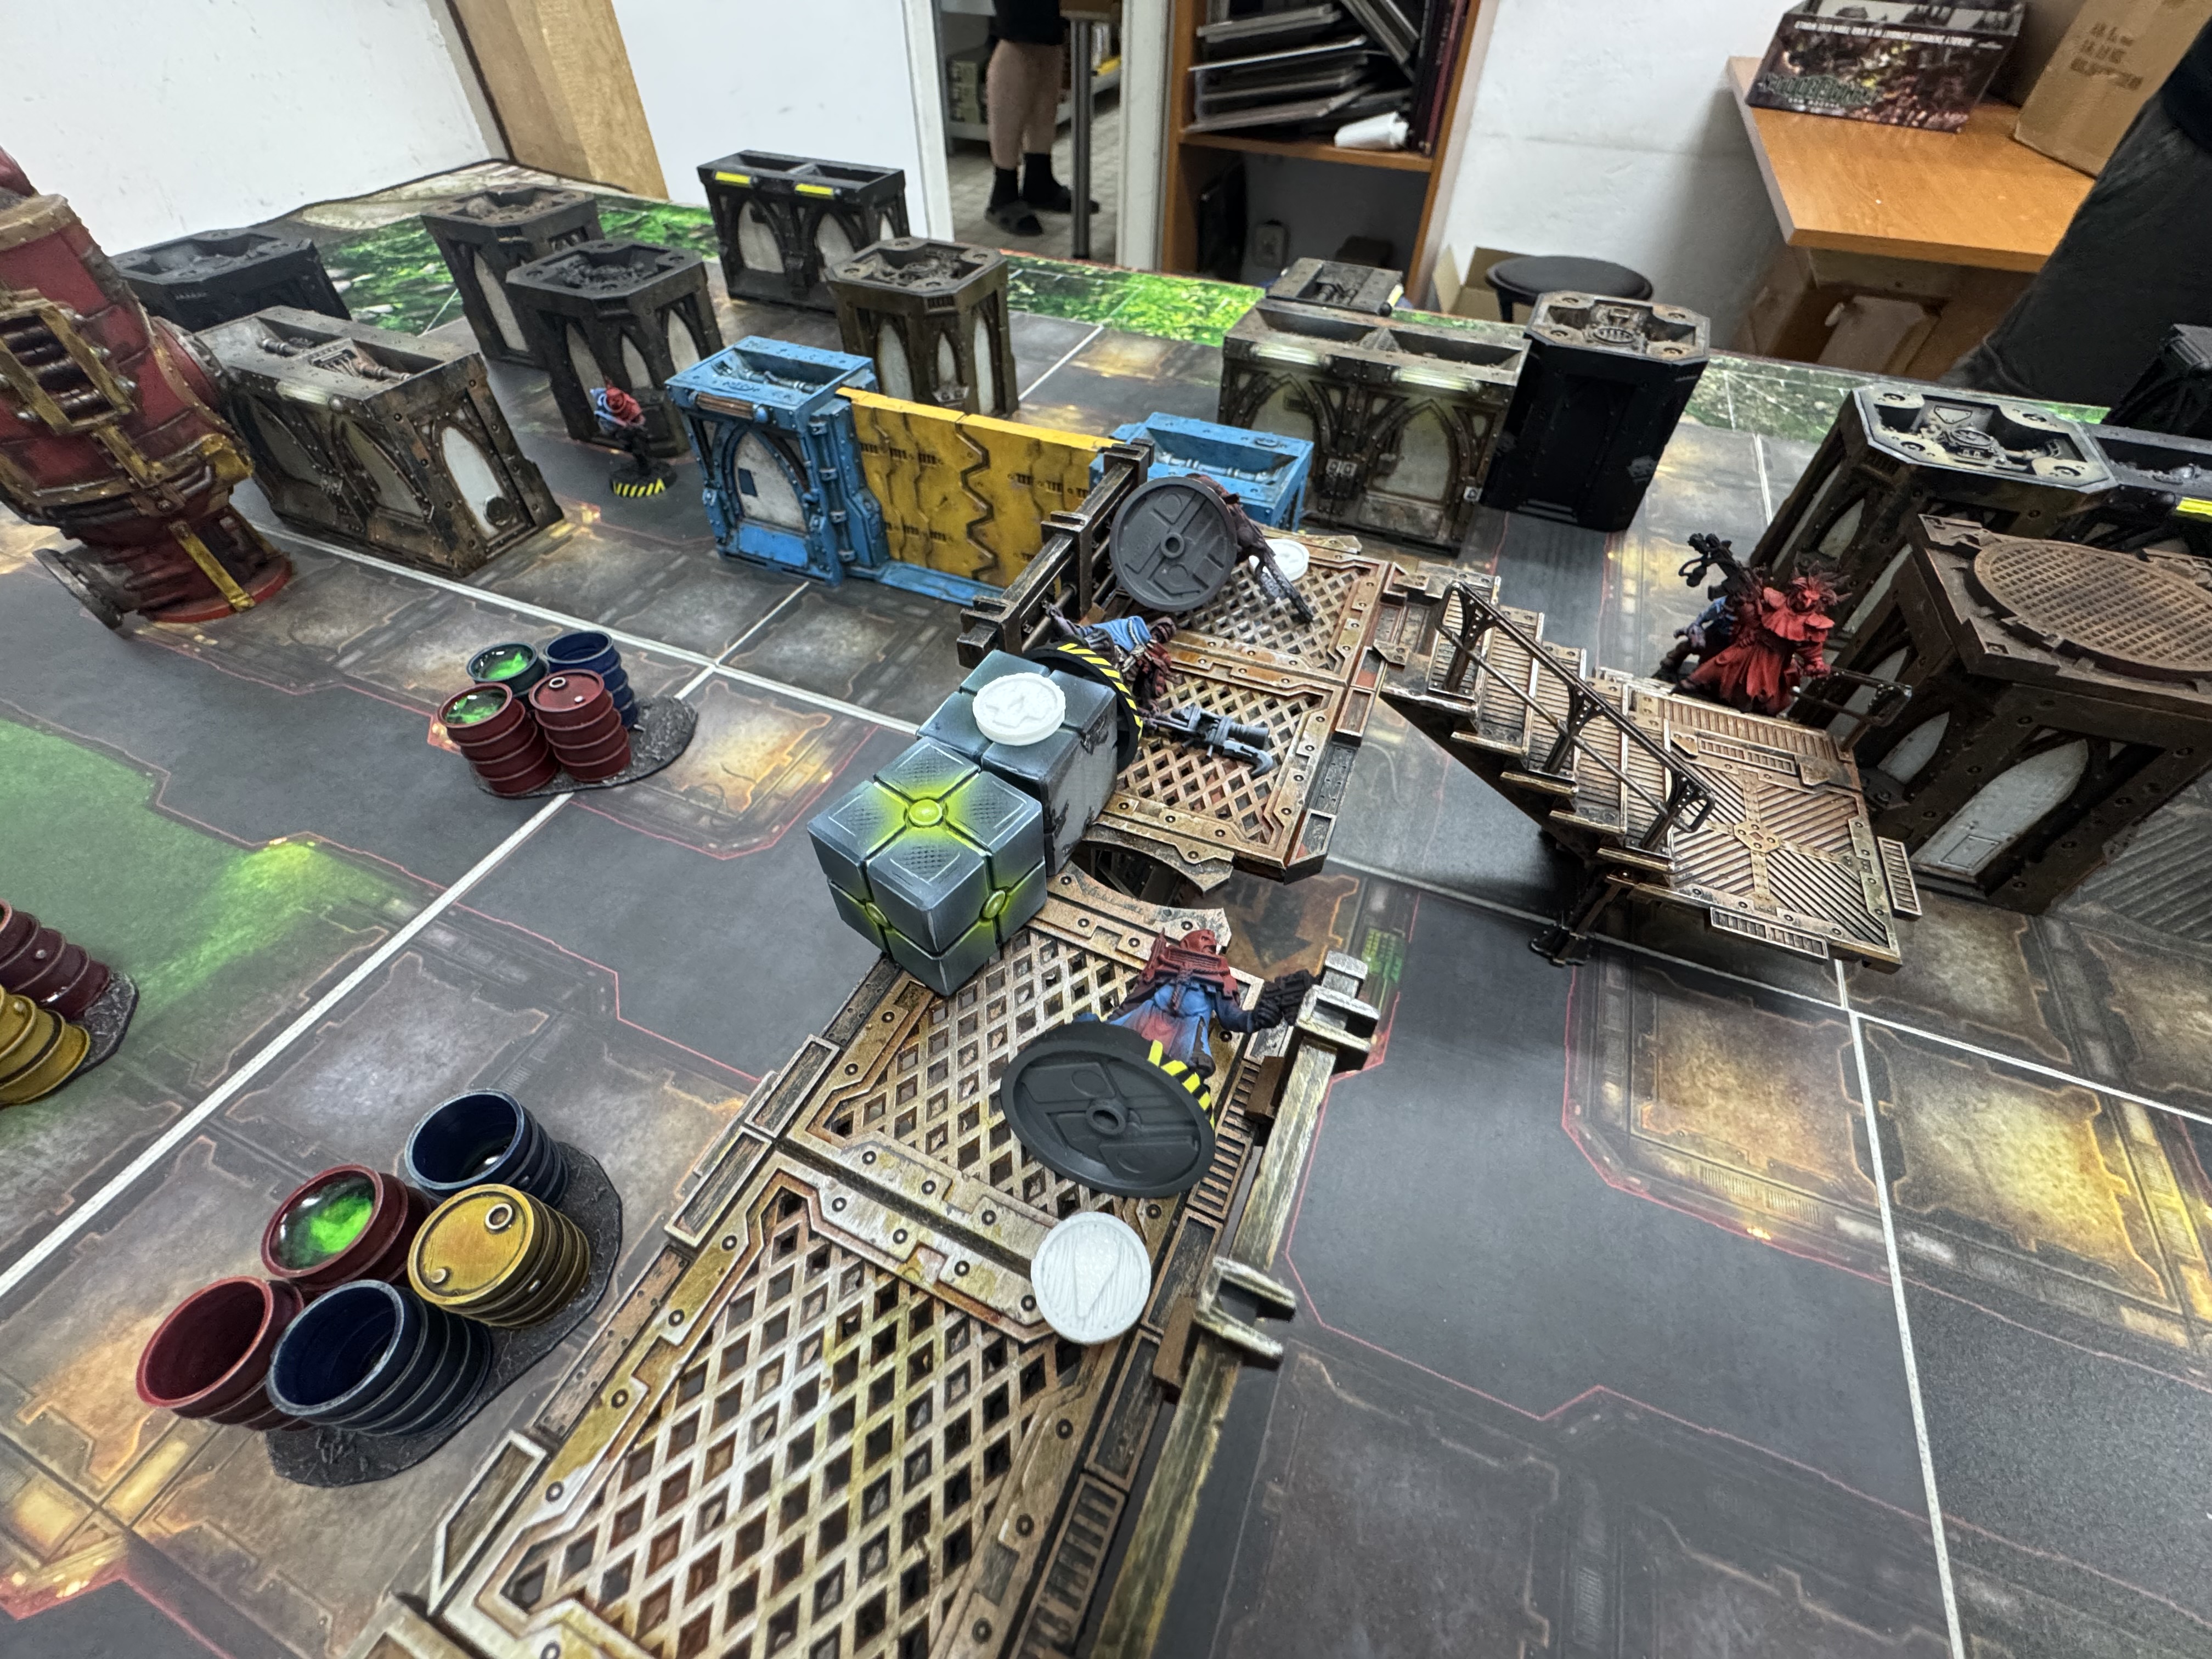
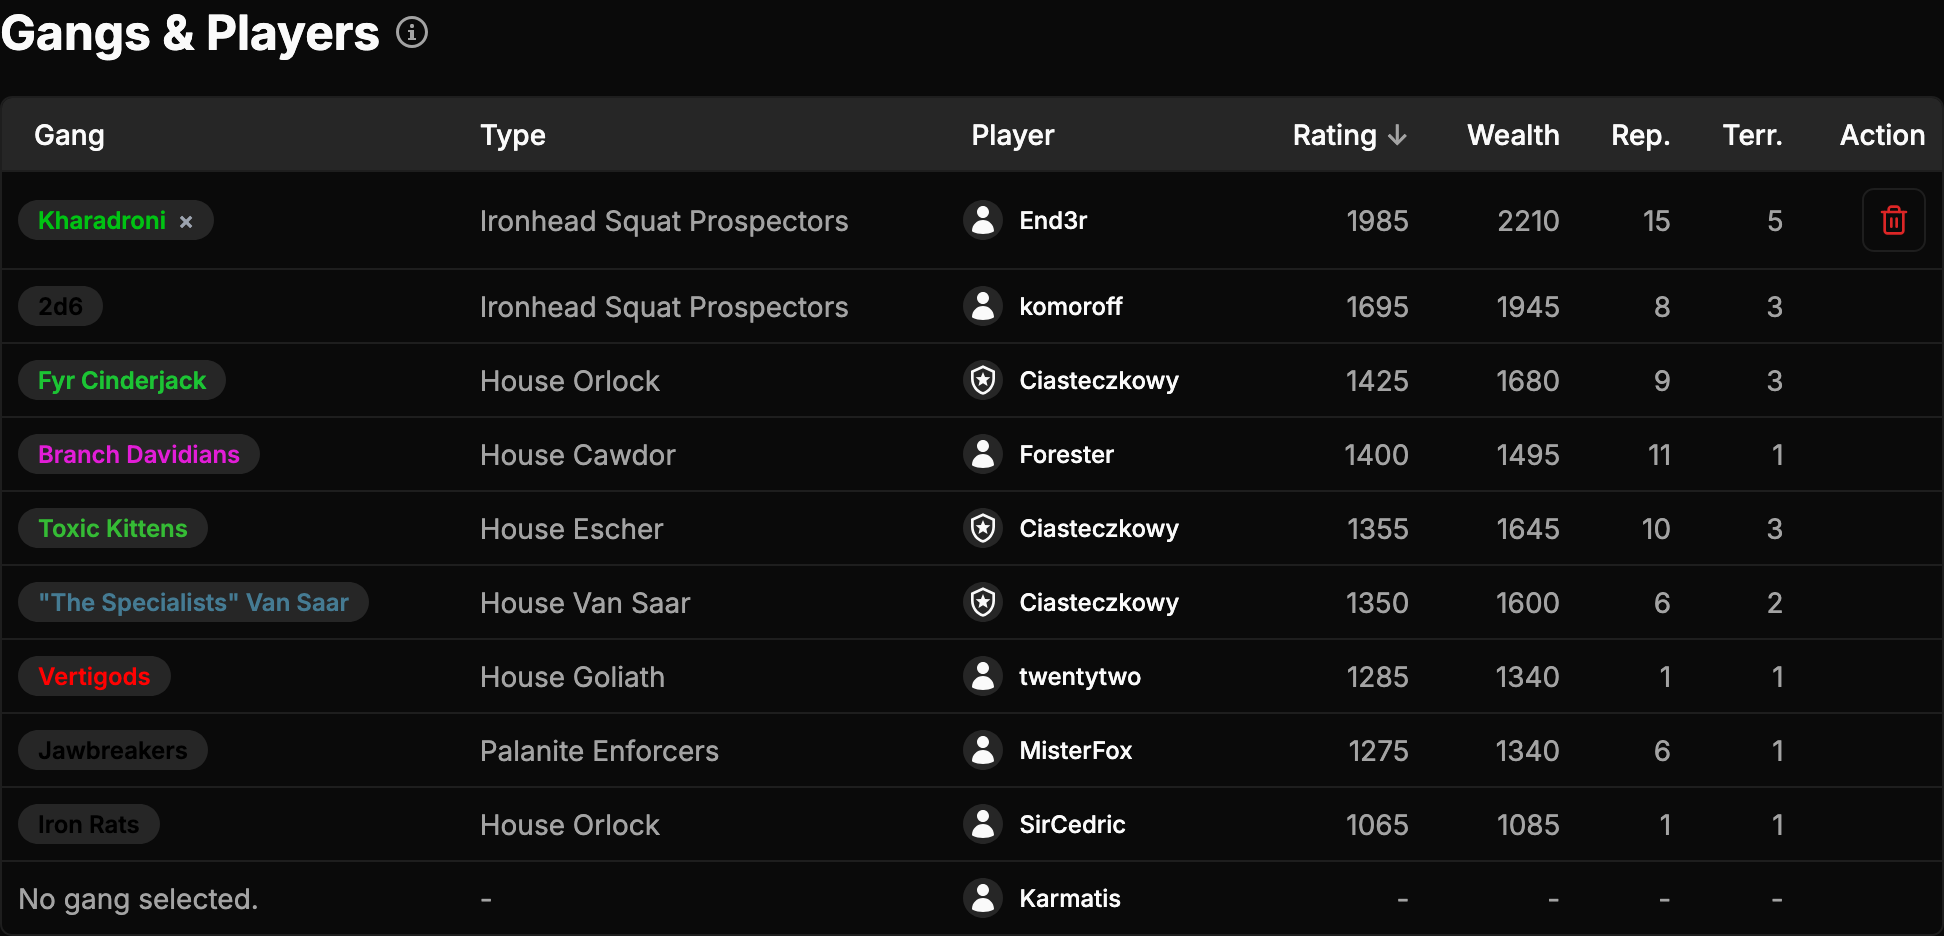
This time, end3r’s Squat Prospectors were back in action and, while crossing the Toll Bridge, they ran straight into a Cawdor gang. Both crews immediately did the sensible Underhive thing and vanished behind ruins, crates and whatever cover they could find. The twist in this scenario was that the whole fight revolved around getting across a moving, rotating bridge — and from the very start that gave the Squats a real edge.
Cawdor had brought mostly short-range weapons, clearly planning to rush in and brawl at close quarters. The Kharadron-flavoured dwarfs, meanwhile, dragged in the heaviest kit they could carry, including the now-famous Mining Laser. On paper, that sounded brutal.
In practice, the opening moments were a lot more painful.
One of the Squats hauled that laser all the way up onto a firing tower, which already feels like the kind of effort that deserves a reward. Sadly, before he even got a proper shot off, he caught a hit square in the chest and went straight out of action. That could have gone horribly wrong for Cassidy right at the start of the game.
But the dice gods were smiling on him that evening. His injury roll came up 16, which meant a relatively merciful Out Cold. In Necromunda terms, that counts as getting off lightly.
The rest of the gang took that personally.
Cassidy’s mates answered with heavy boltgun fire, and suddenly the bridge approach became a killing ground. Cawdor tried to push onto the bridge fast — which made sense, because if your weapons only really work up close, you need to get there somehow. The problem was that the Squats had range, firepower, and a perfect lane to punish every optimistic sprint forward.
And as if that wasn’t enough, the alternative route was even worse.
One of the Cawdor gangers tried to cross by leaping over a nearby pile of scrap beside the bridge. It was a bold move, very cinematic, very Necromunda — and it failed instantly. On the very first jump he went straight into the green sludge below and died on the spot. No dramatic last stand, no heroic recovery, just a one-way trip into the toxic river.
Honestly, that’s the Underhive in one moment.
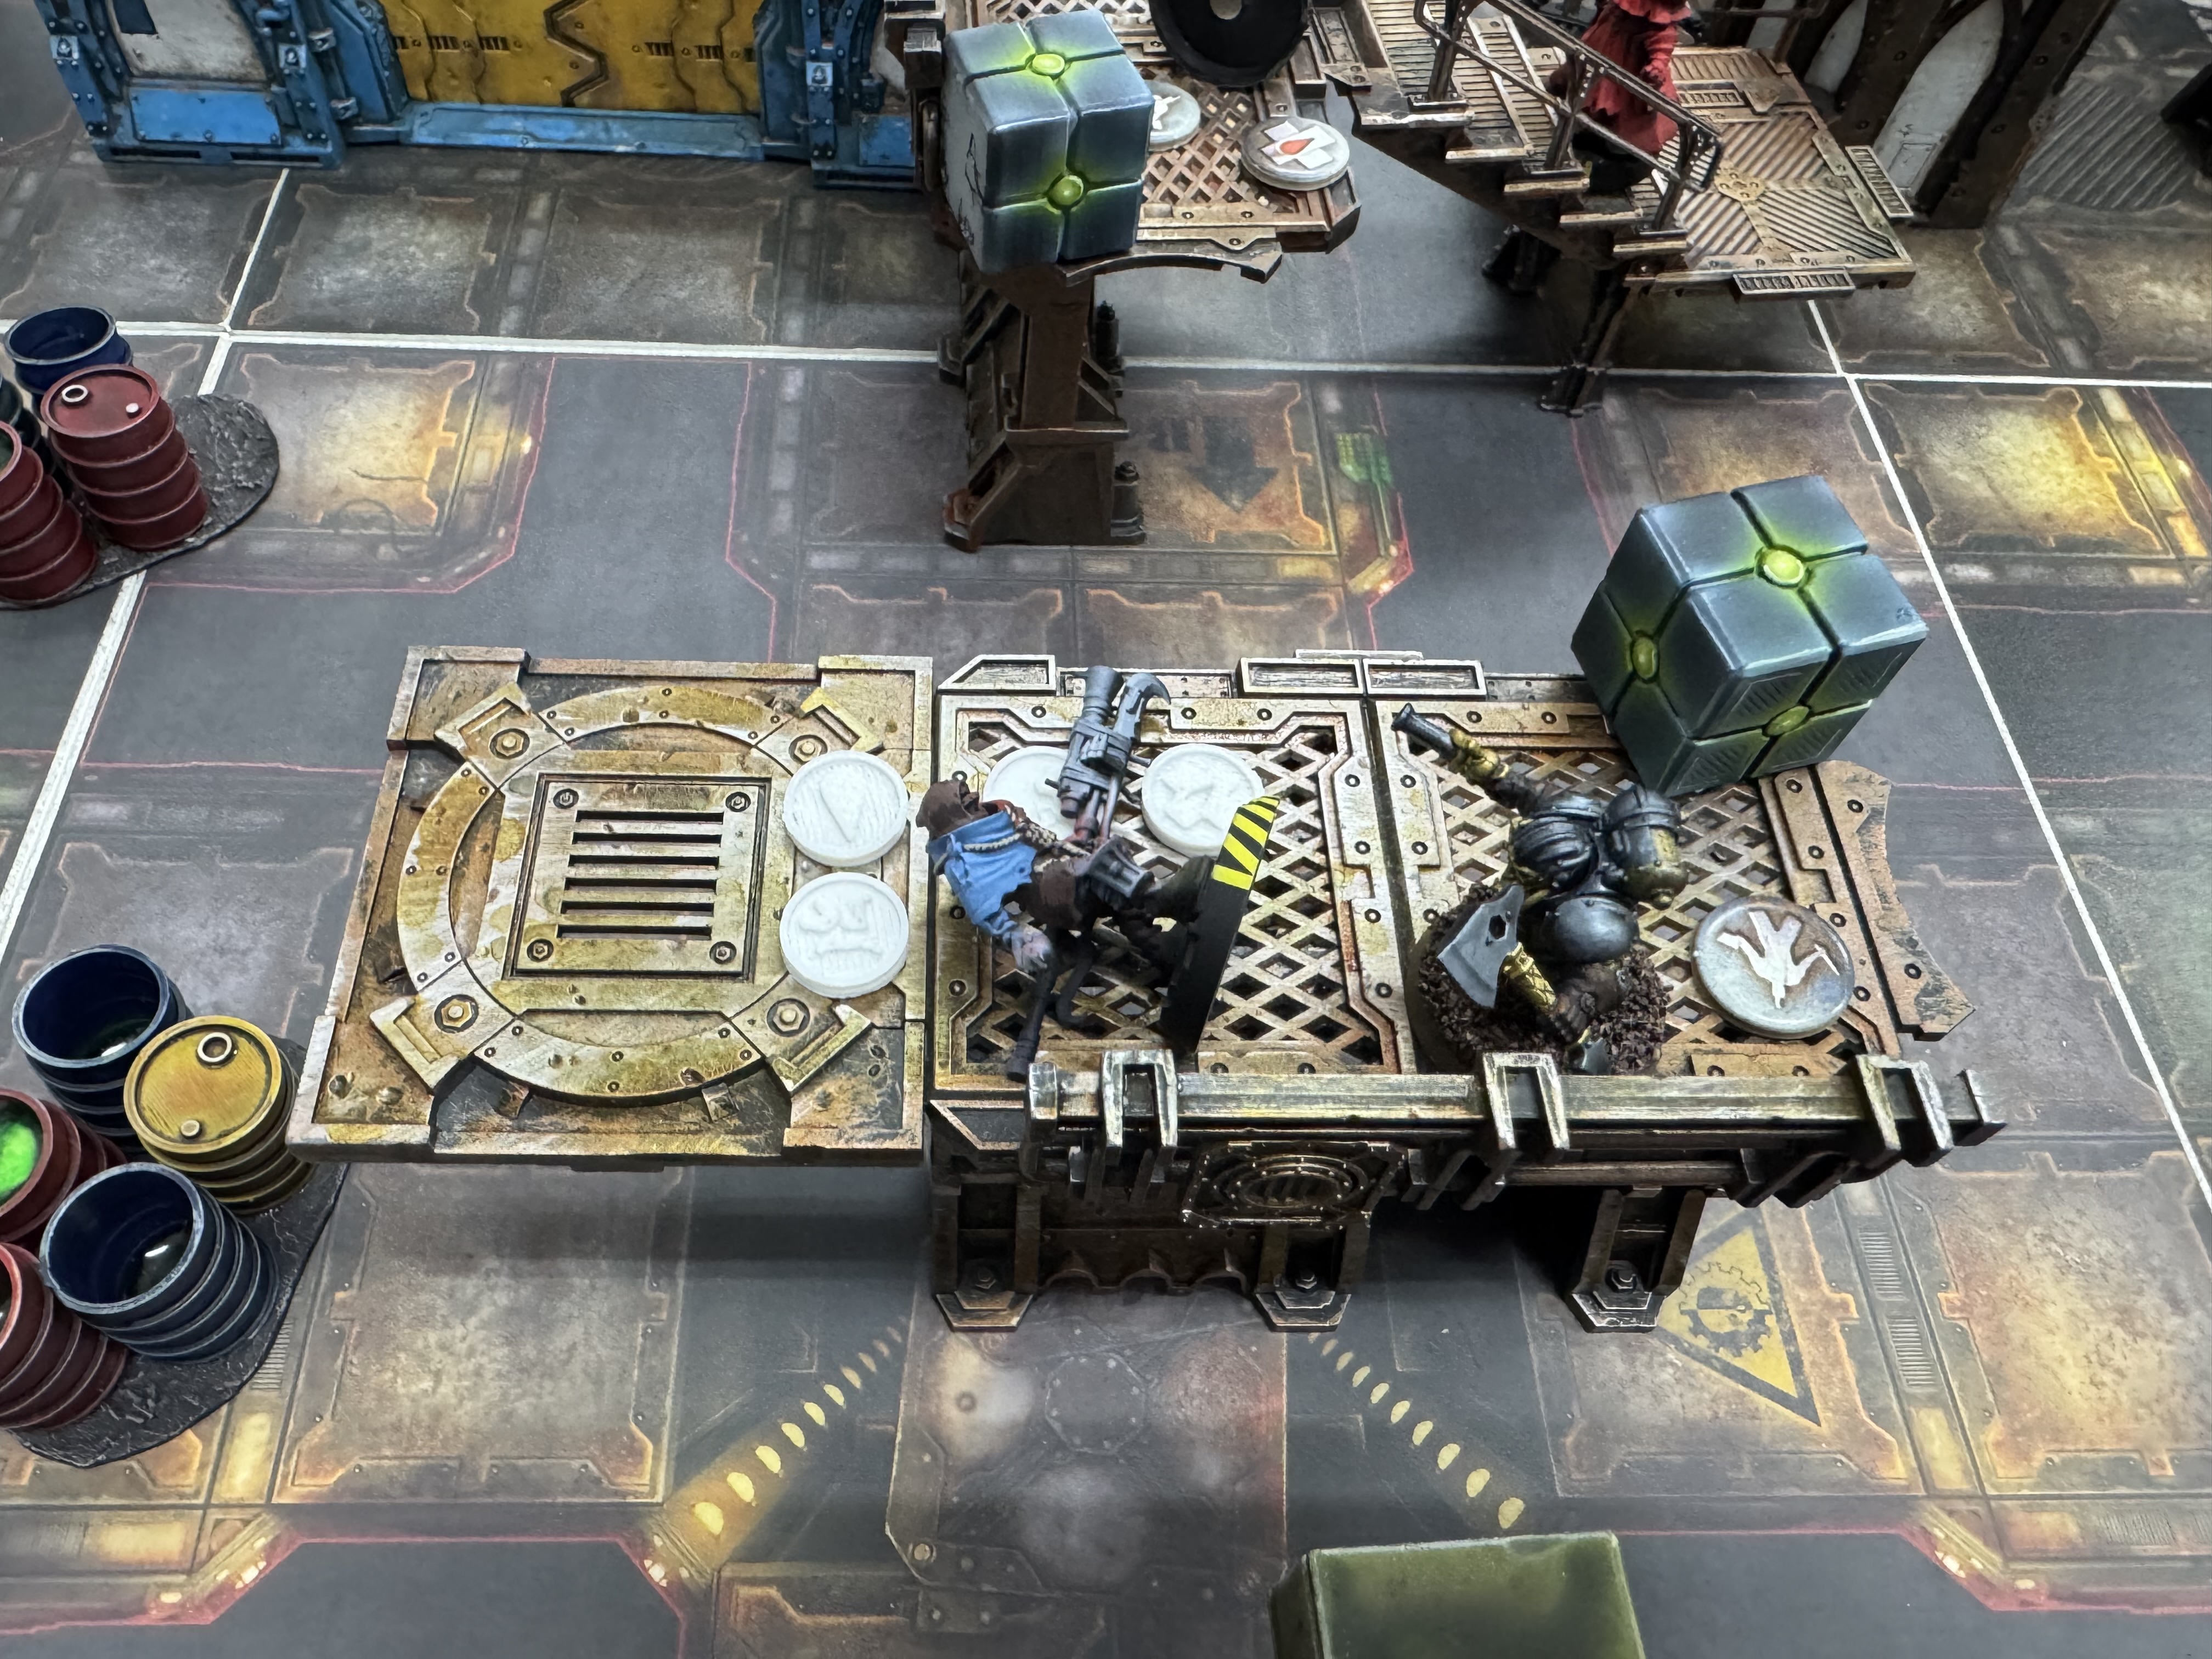
From there, everyone’s attention locked onto the bridge itself — and the bridge apparently decided it wanted to be the star of the game. Thanks to a ridiculous run of rolls, it kept rotating turn after turn. What should have been a dangerous crossing became a full-blown chaotic carnival ride, changing angles constantly and making movement even more unpredictable.
At that point it really looked like the Squats were taking control. Cawdor had already been chewed up badly, and their nerve was starting to crack.
Then came the most dramatic moment of the battle.
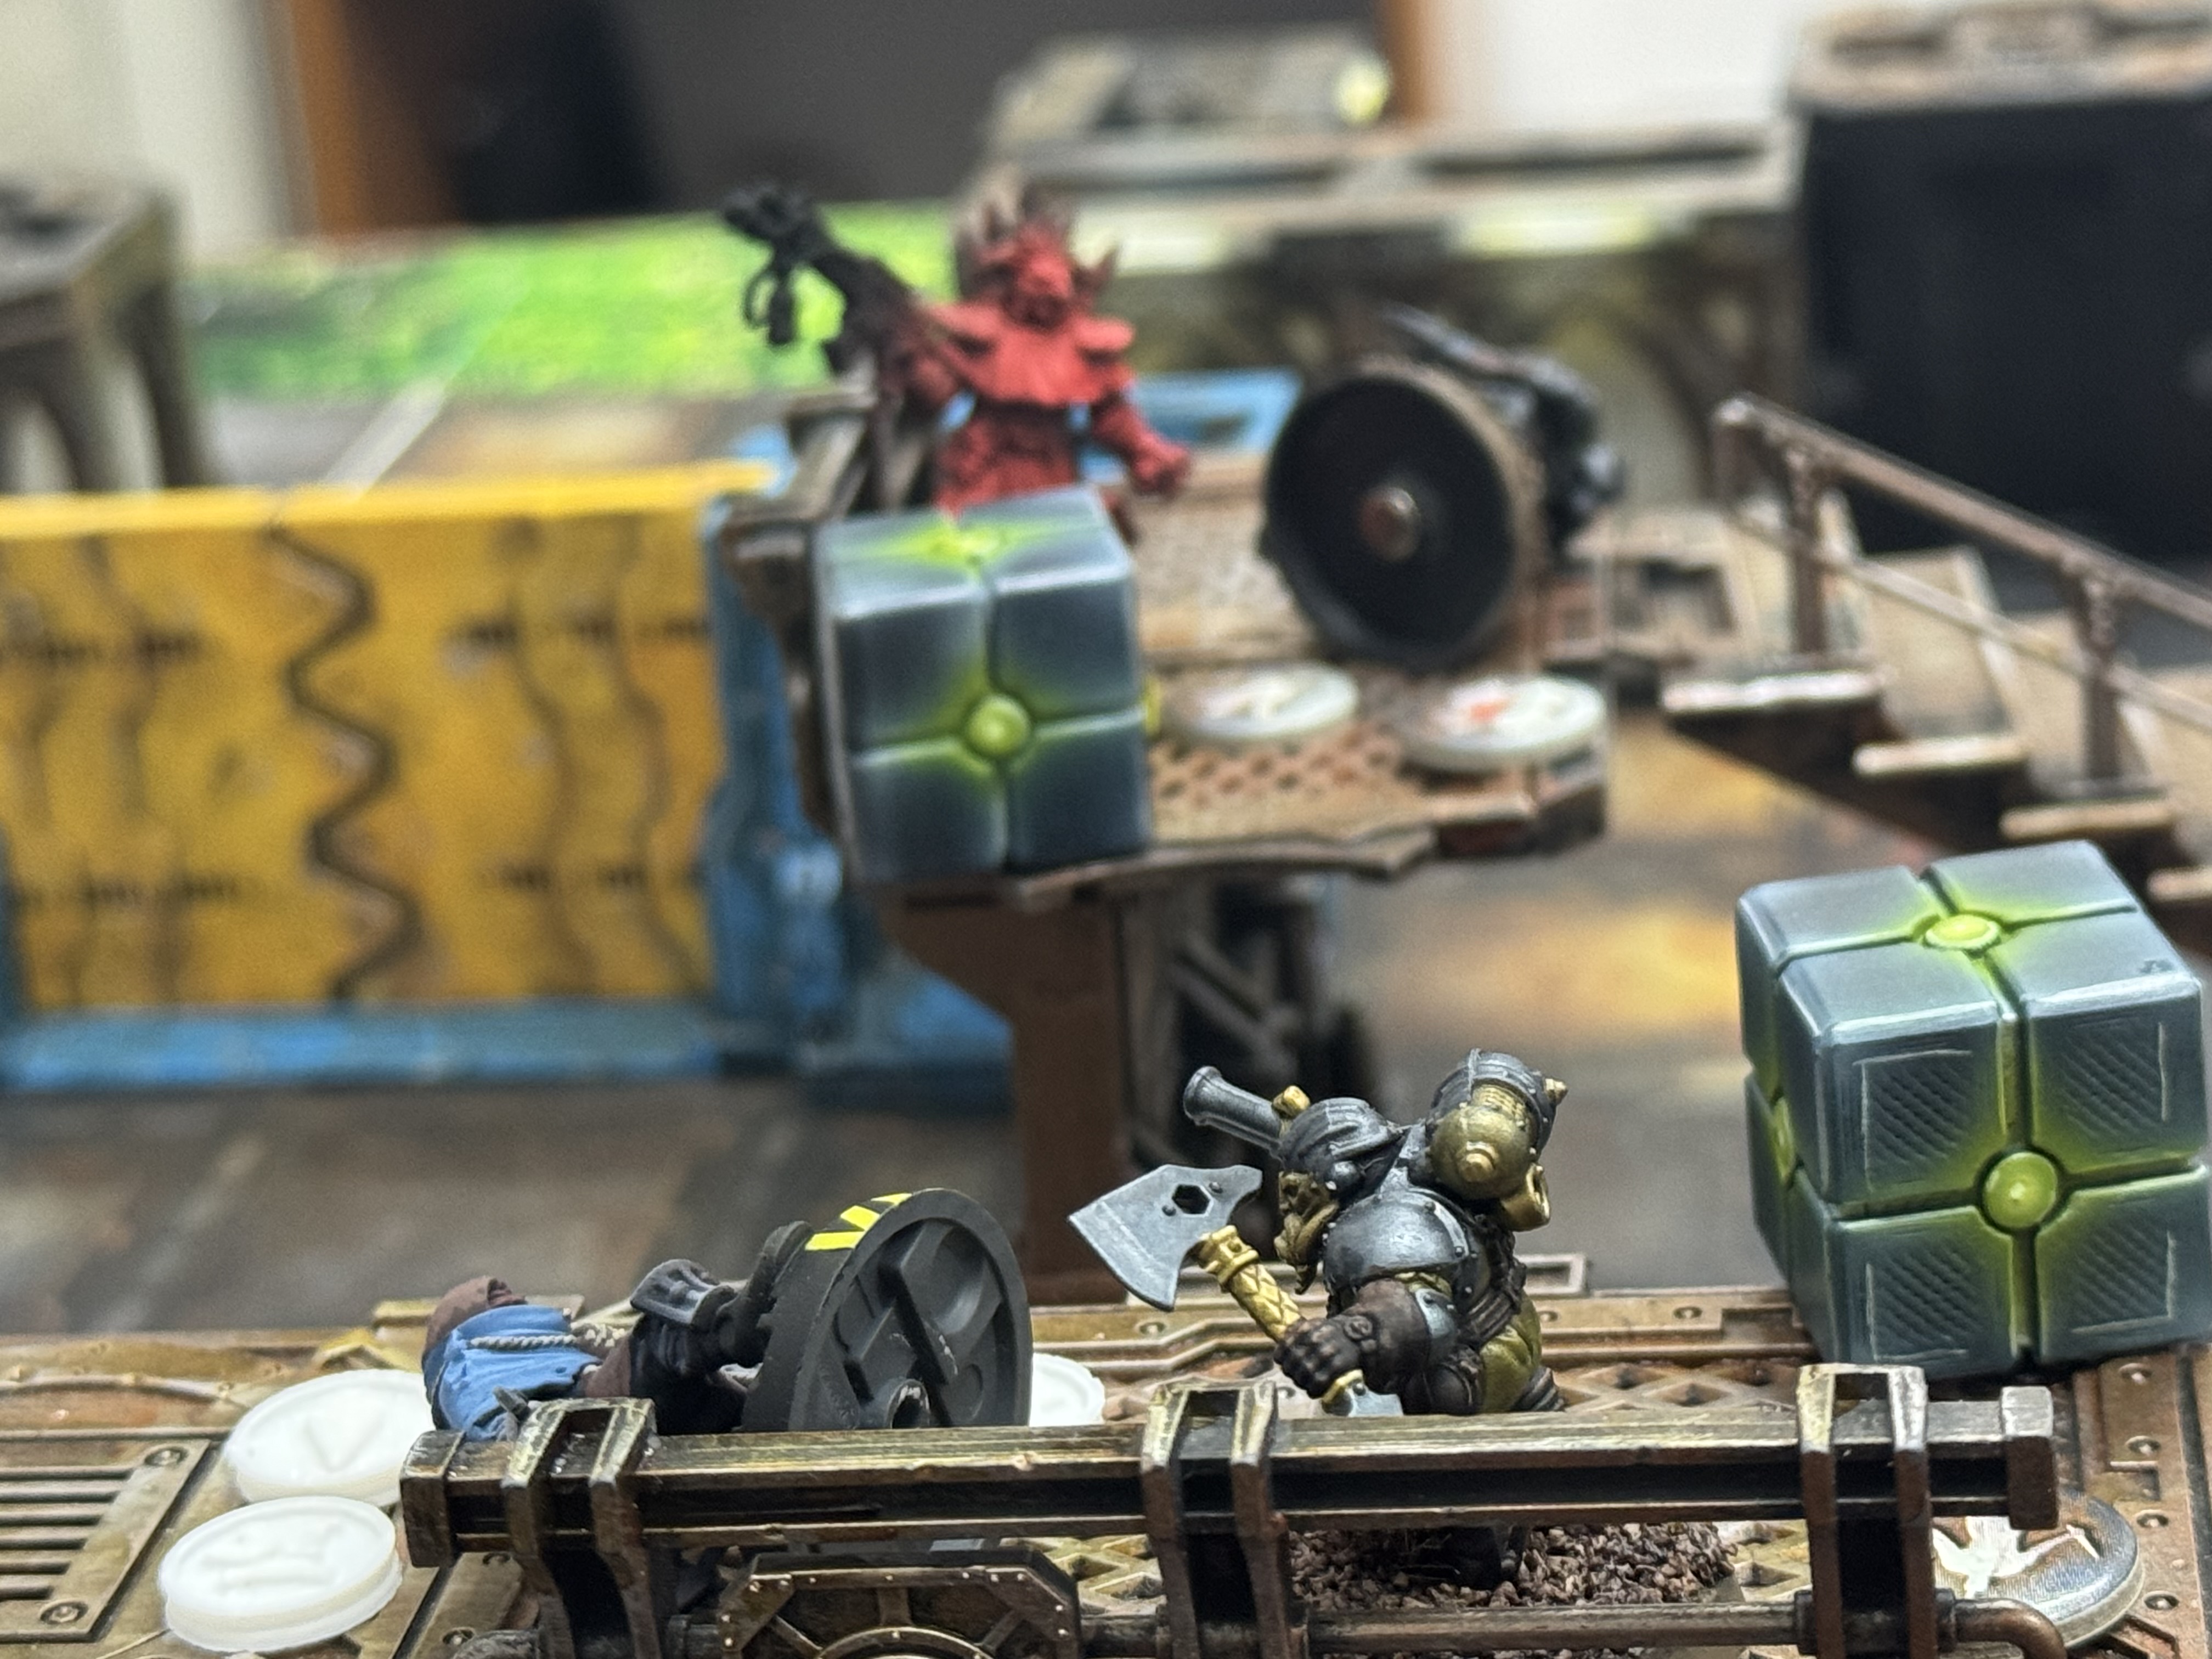
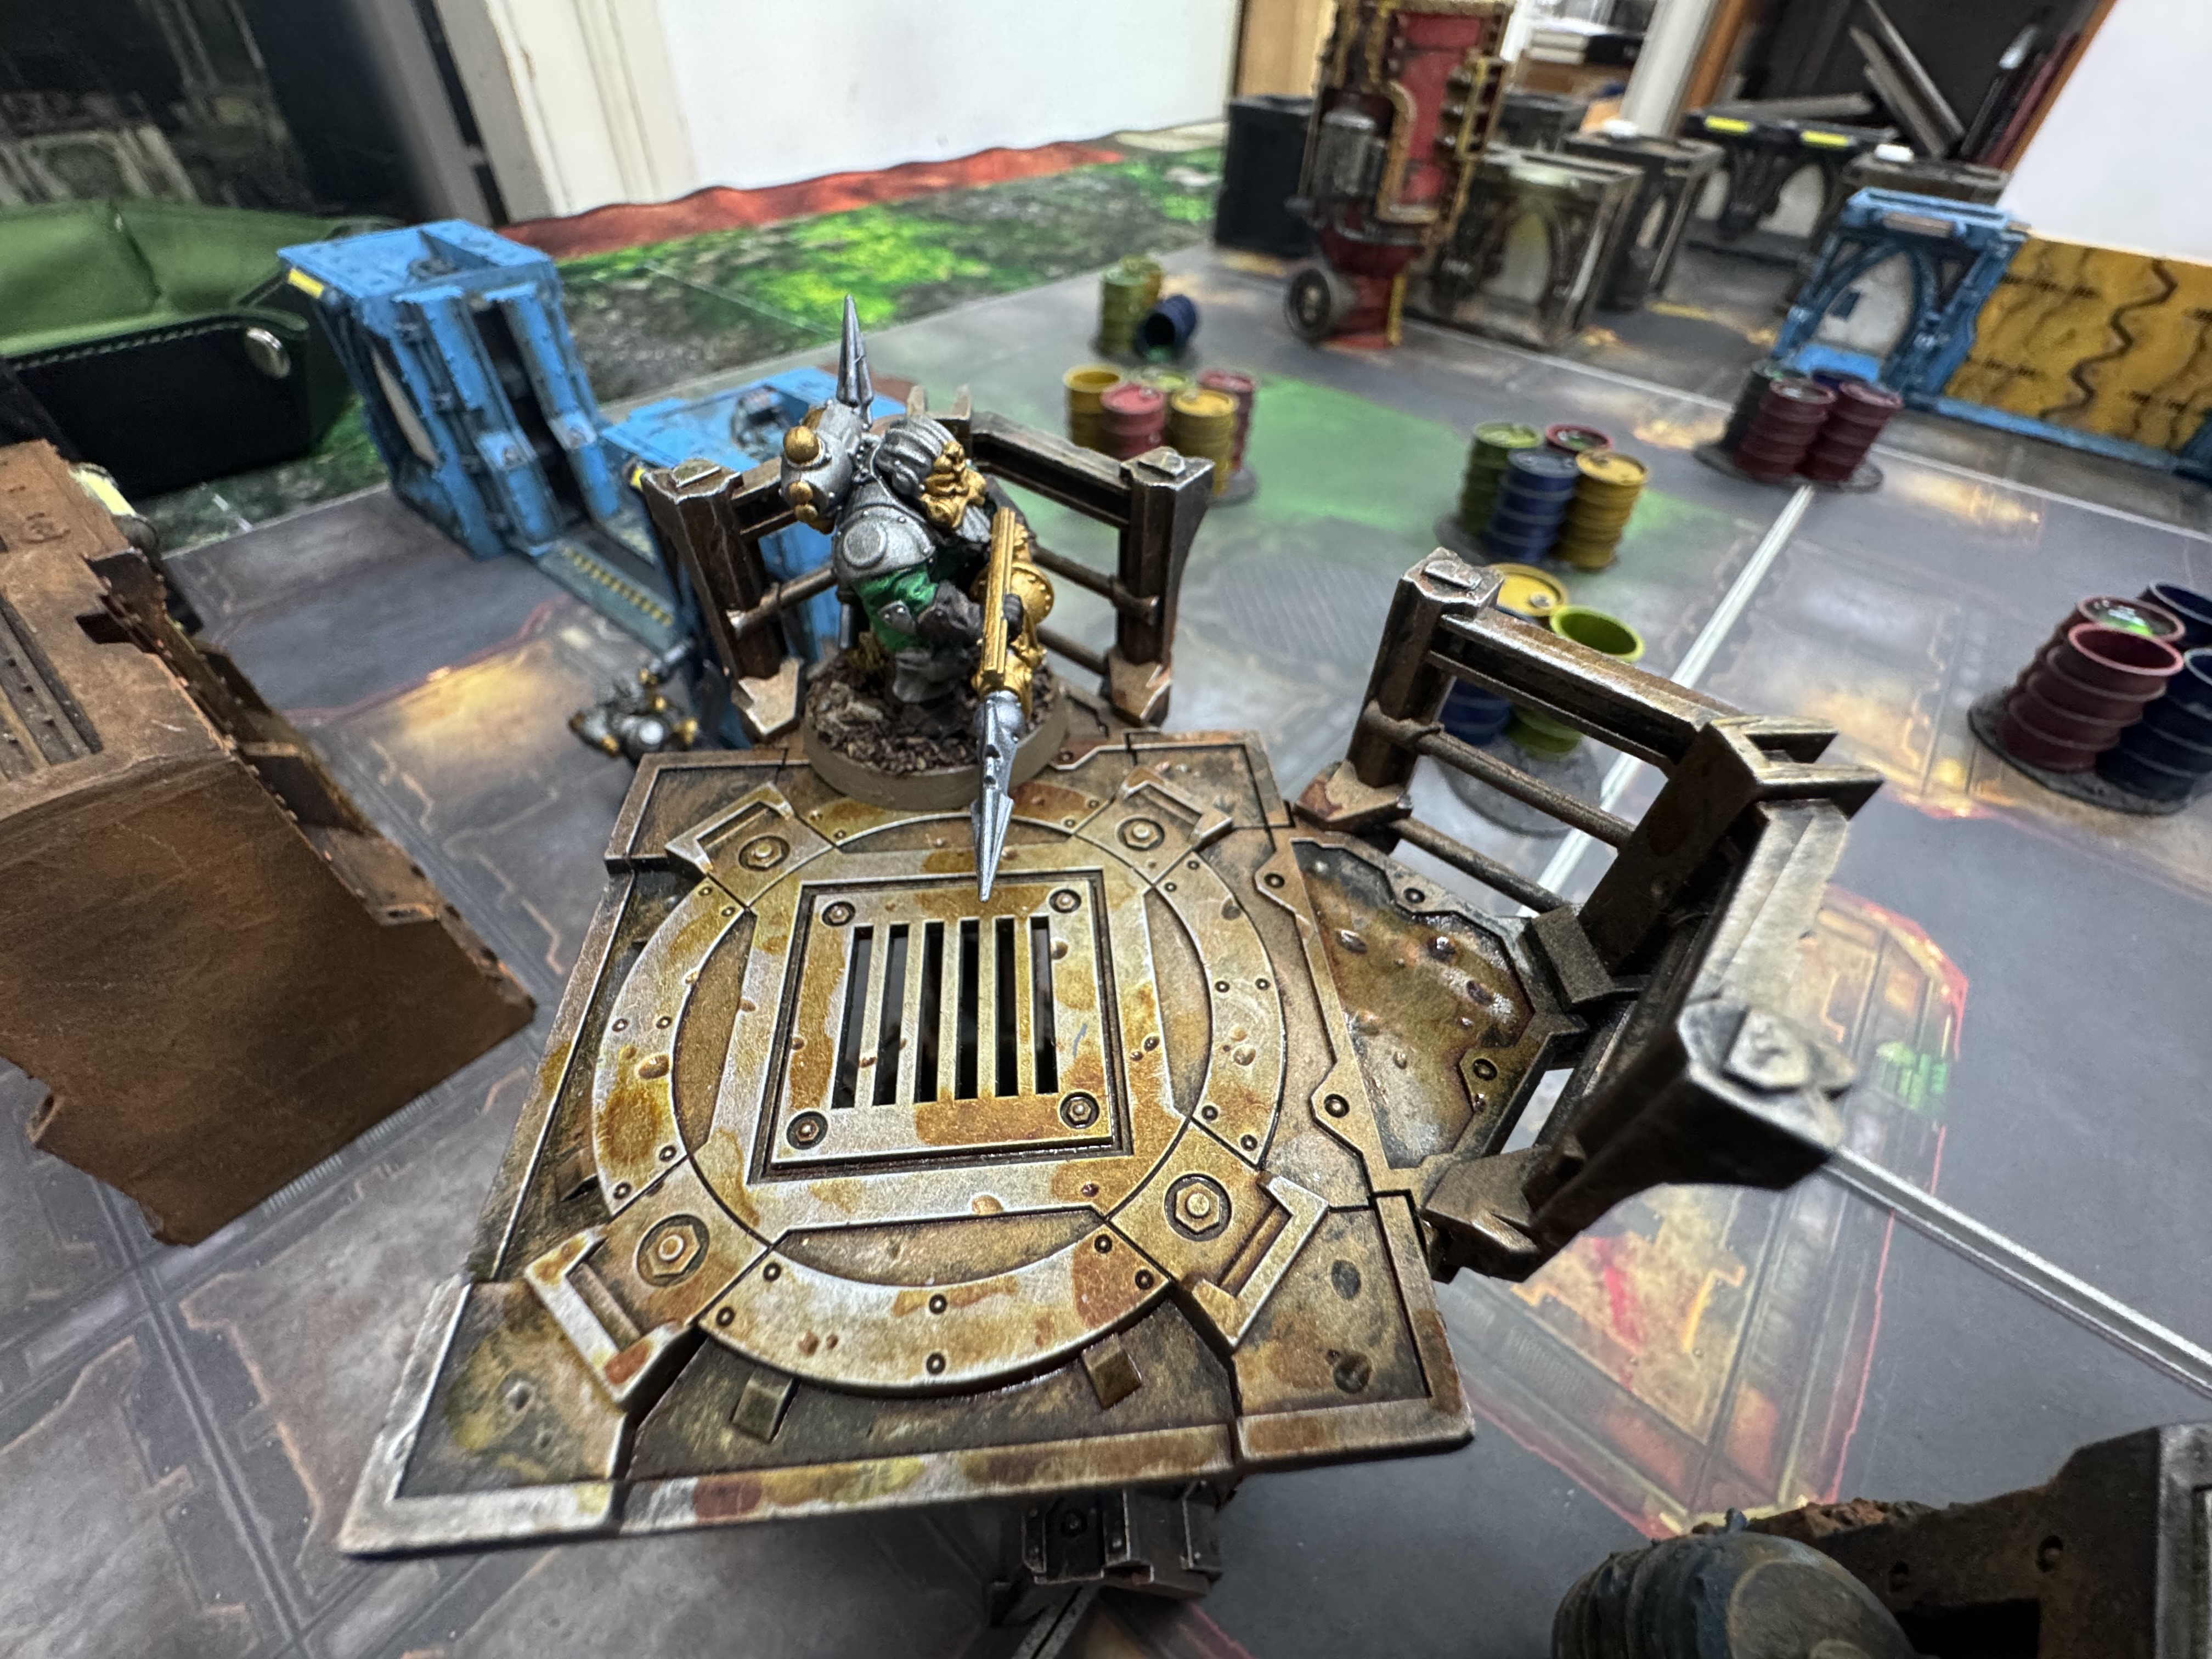
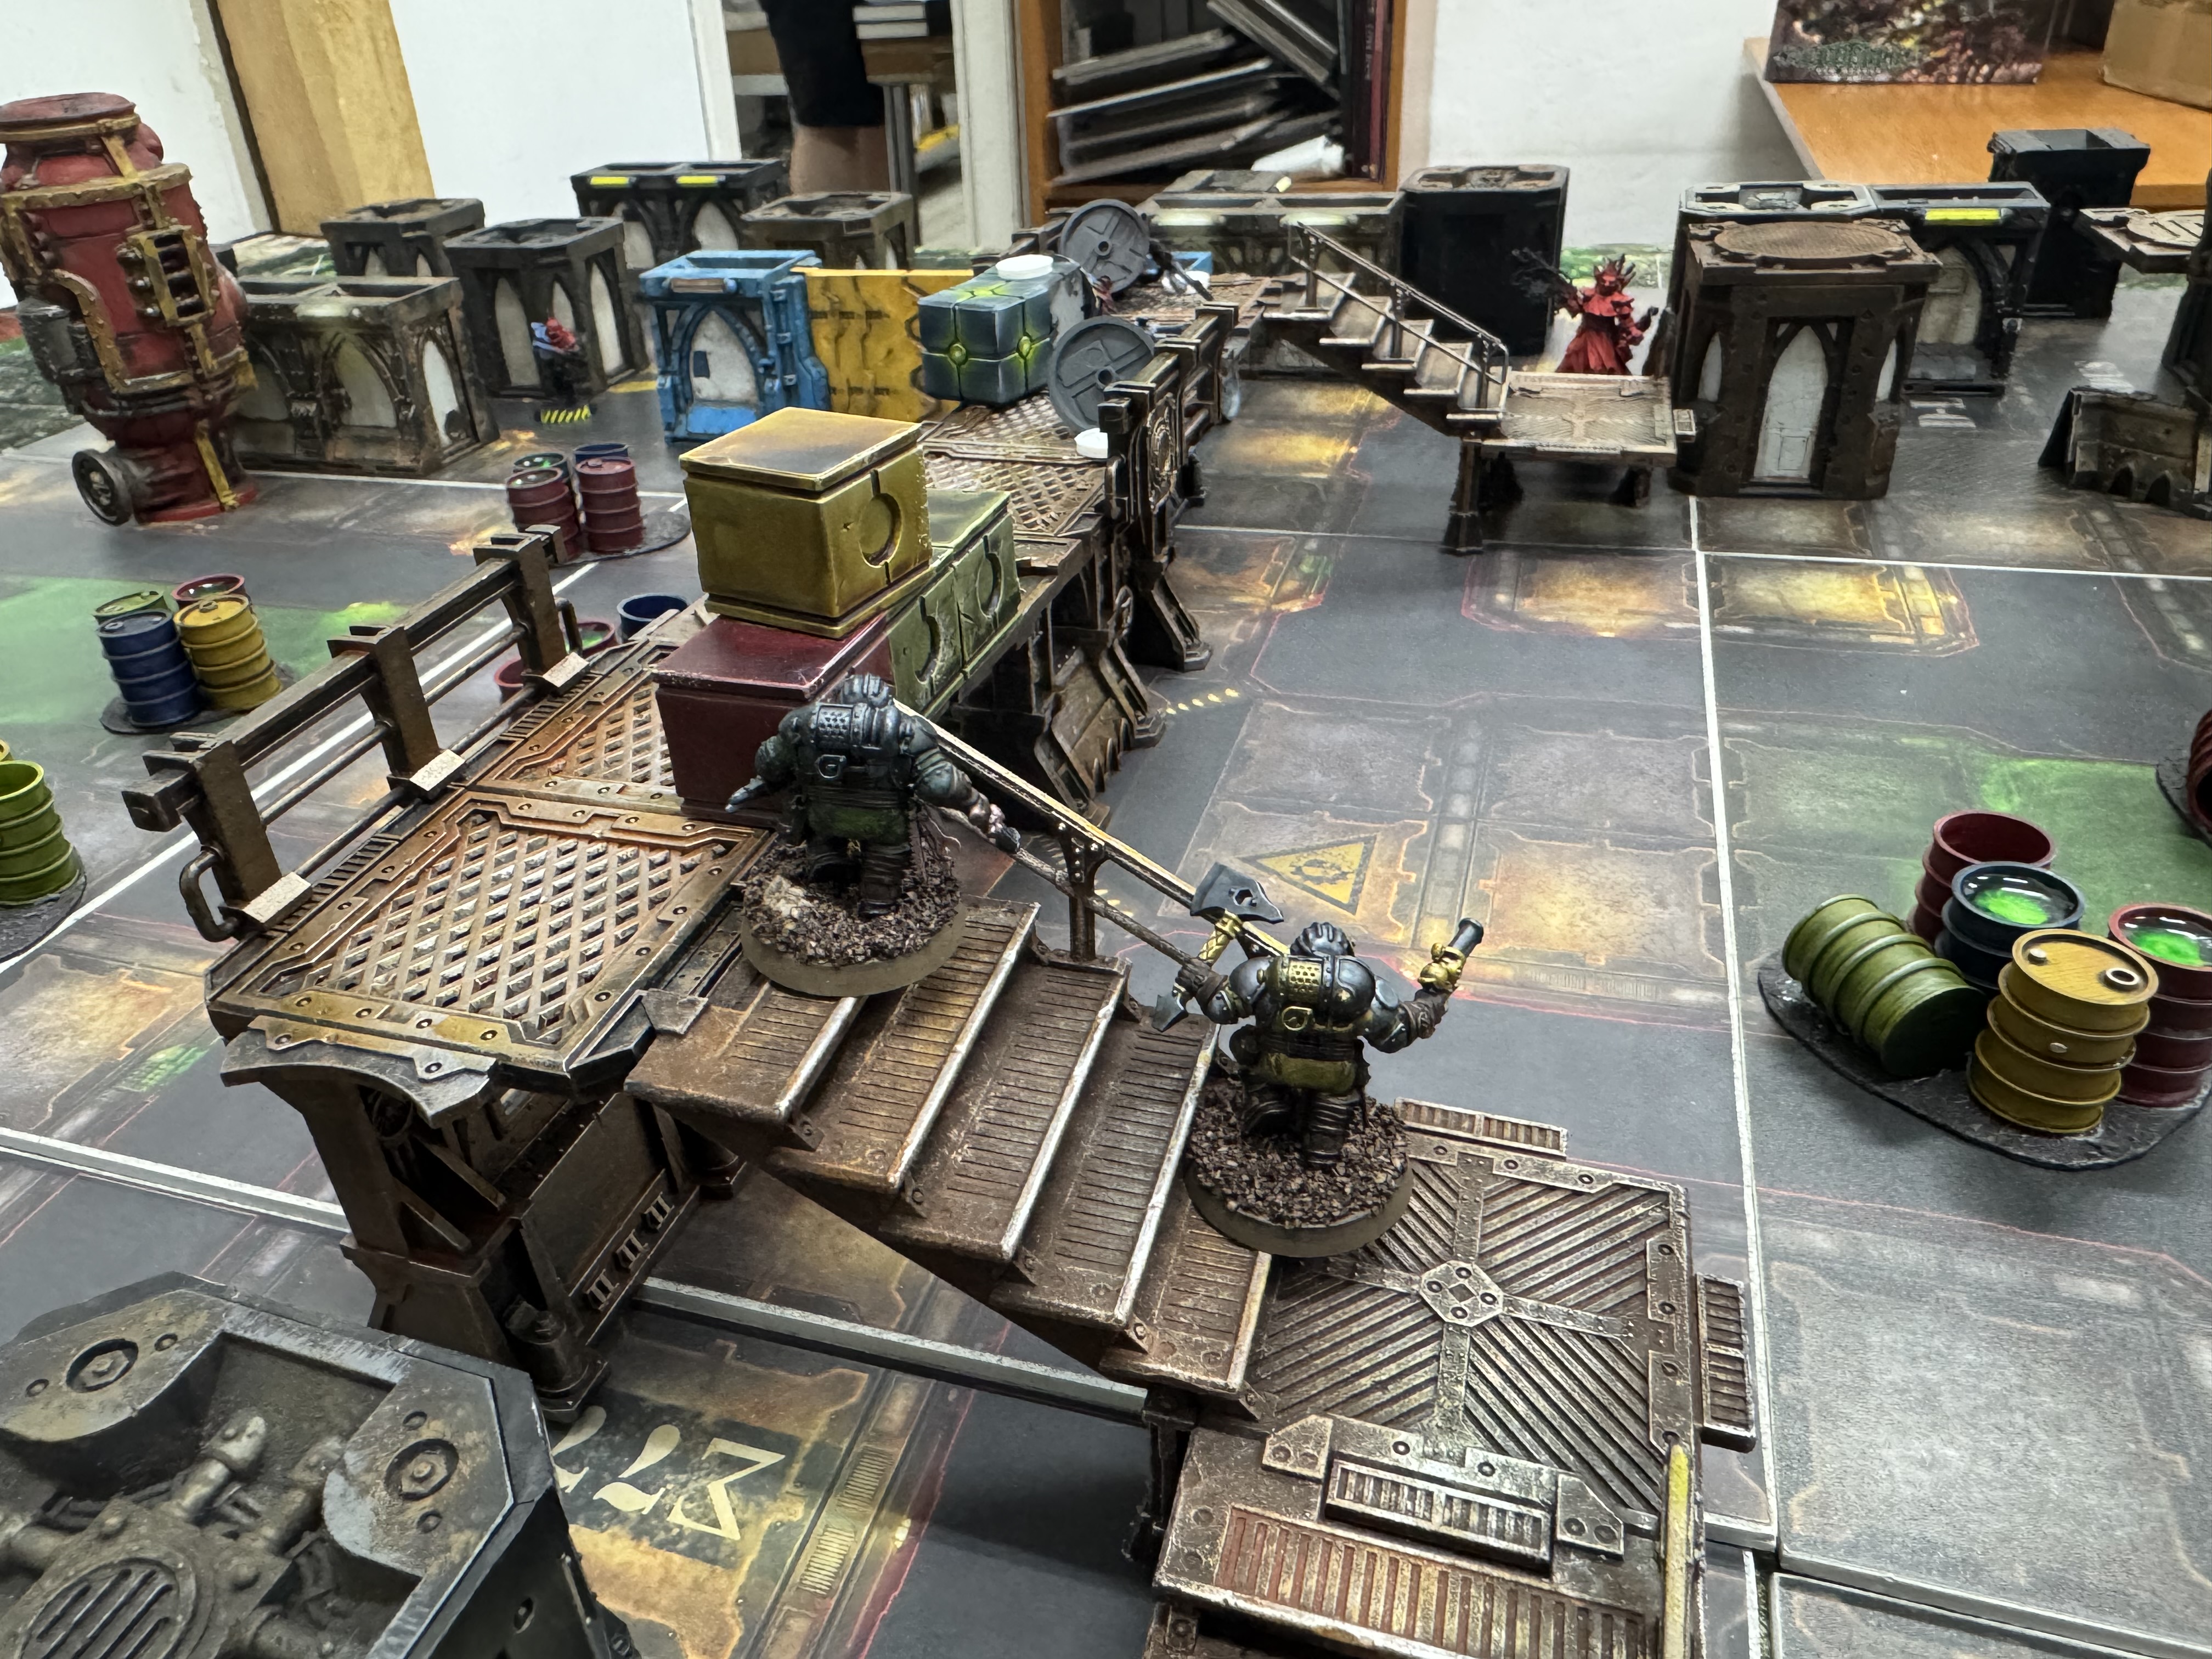
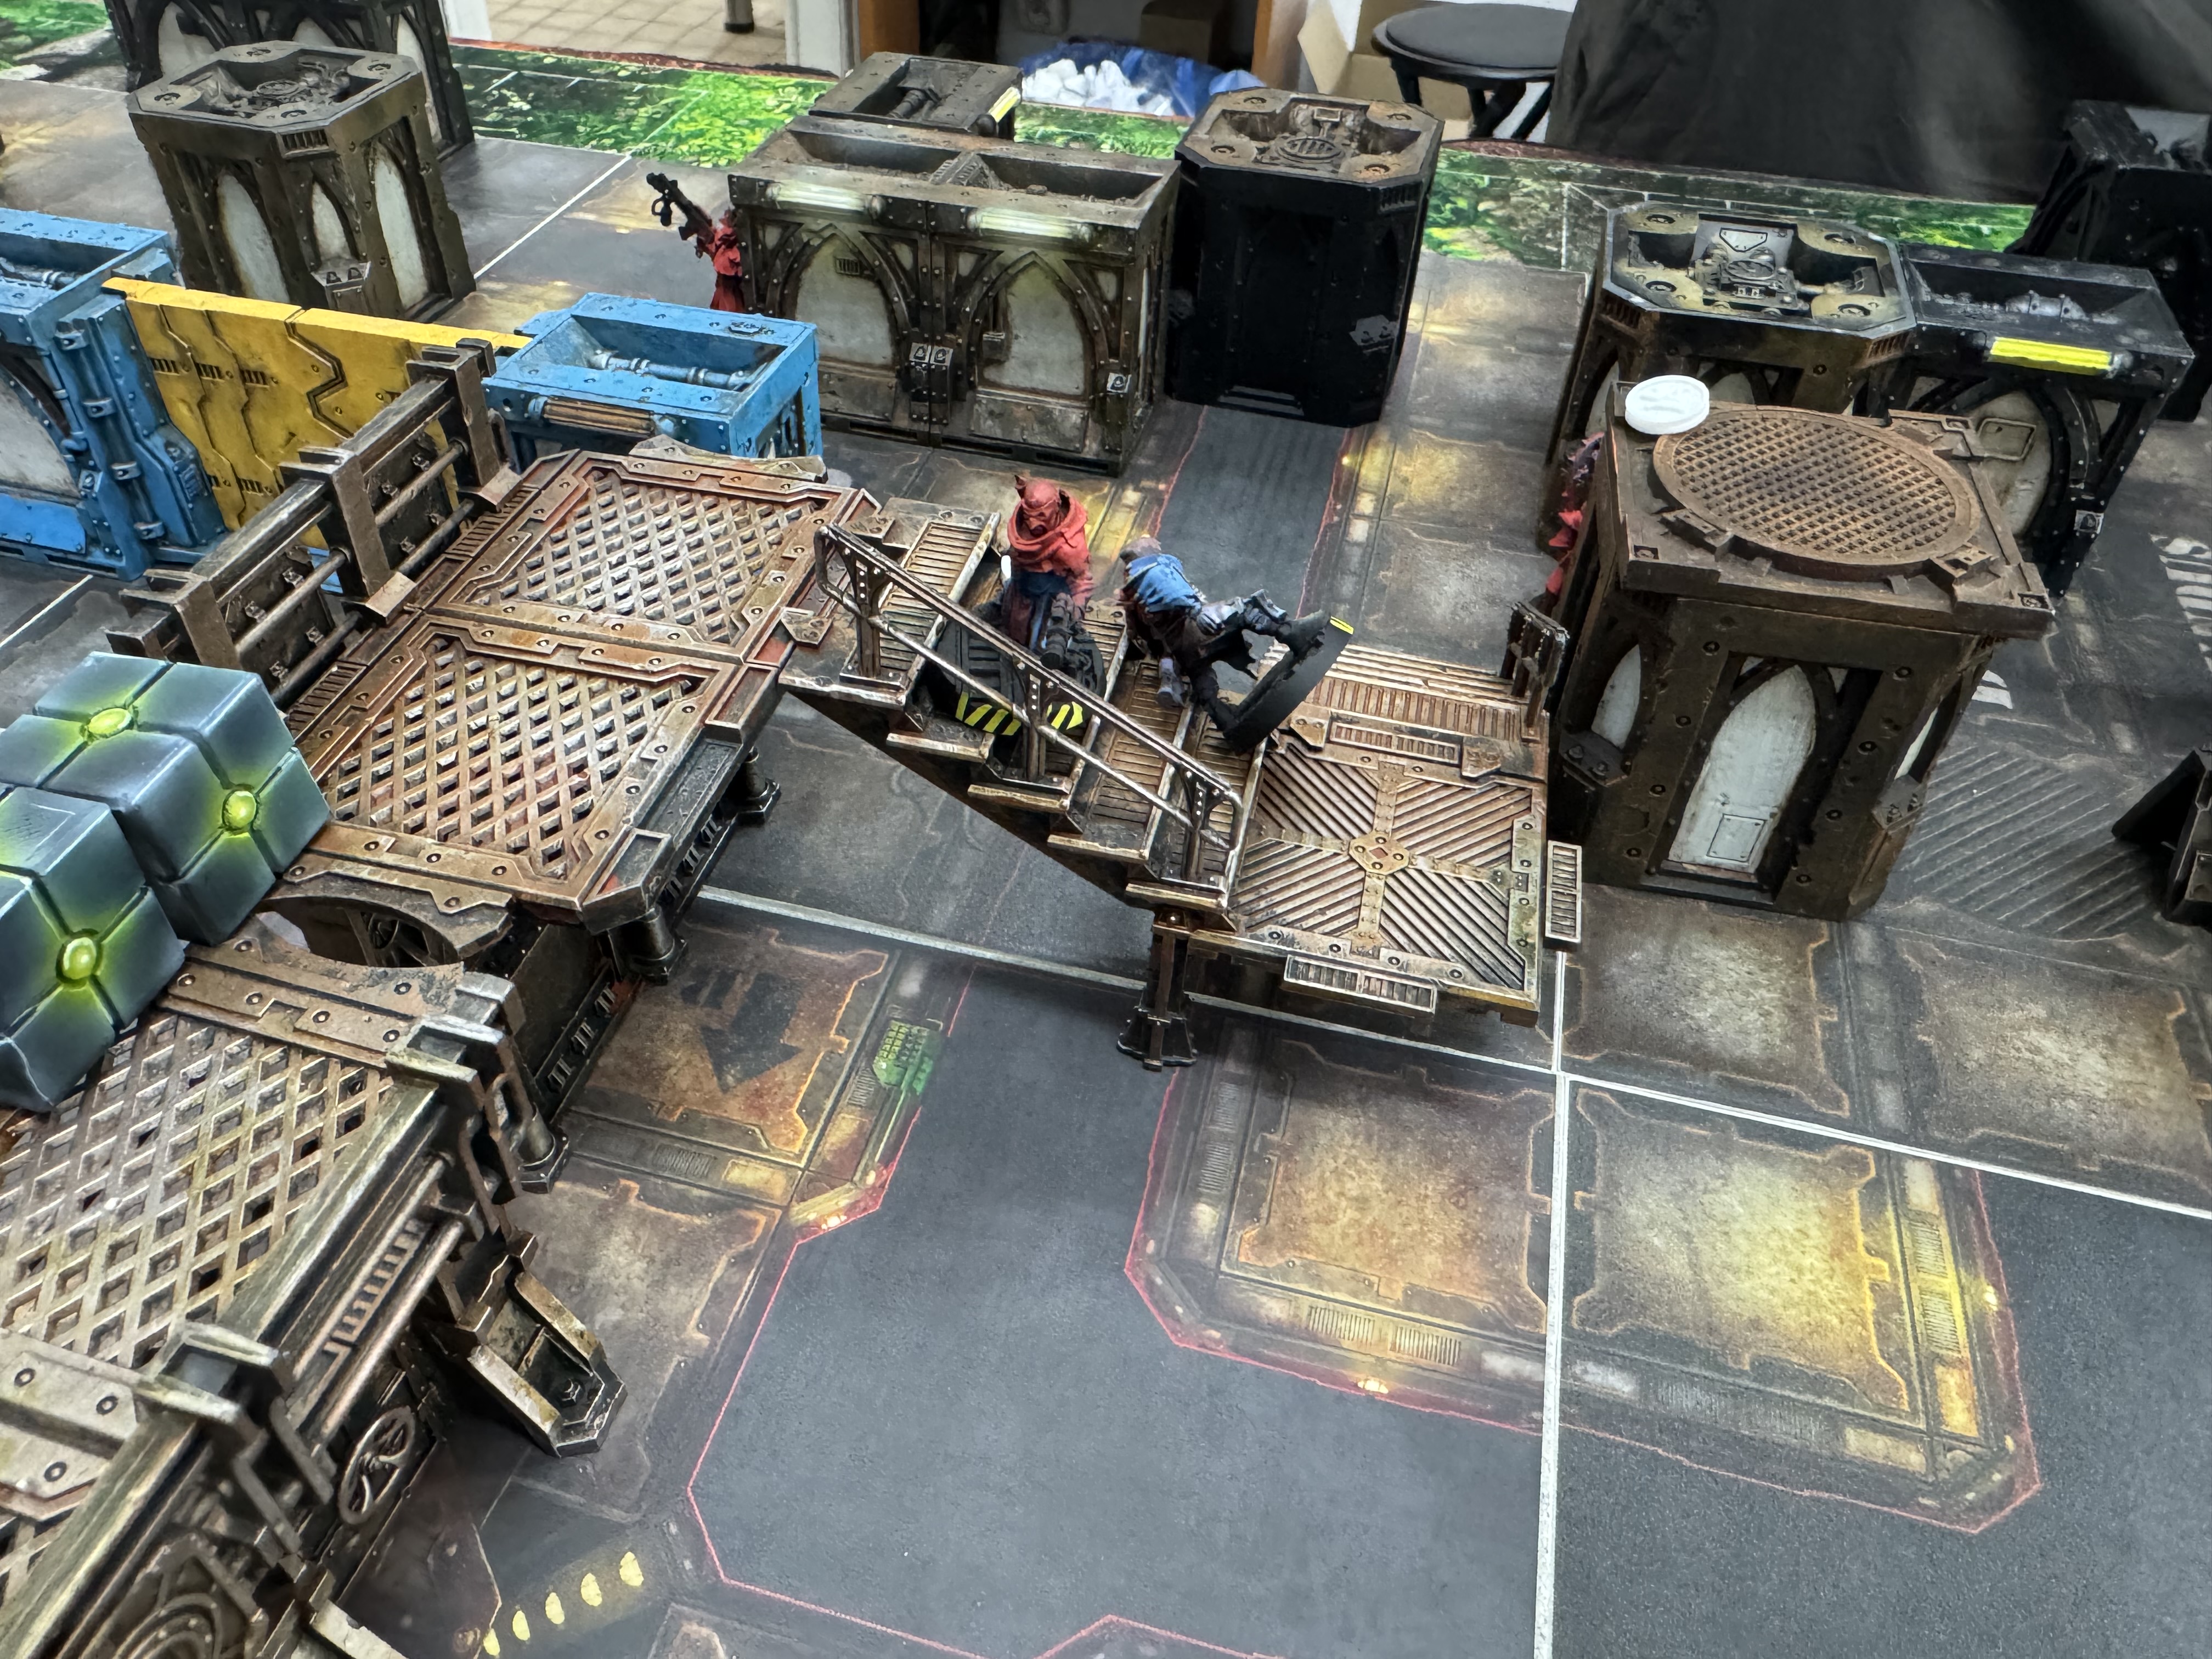
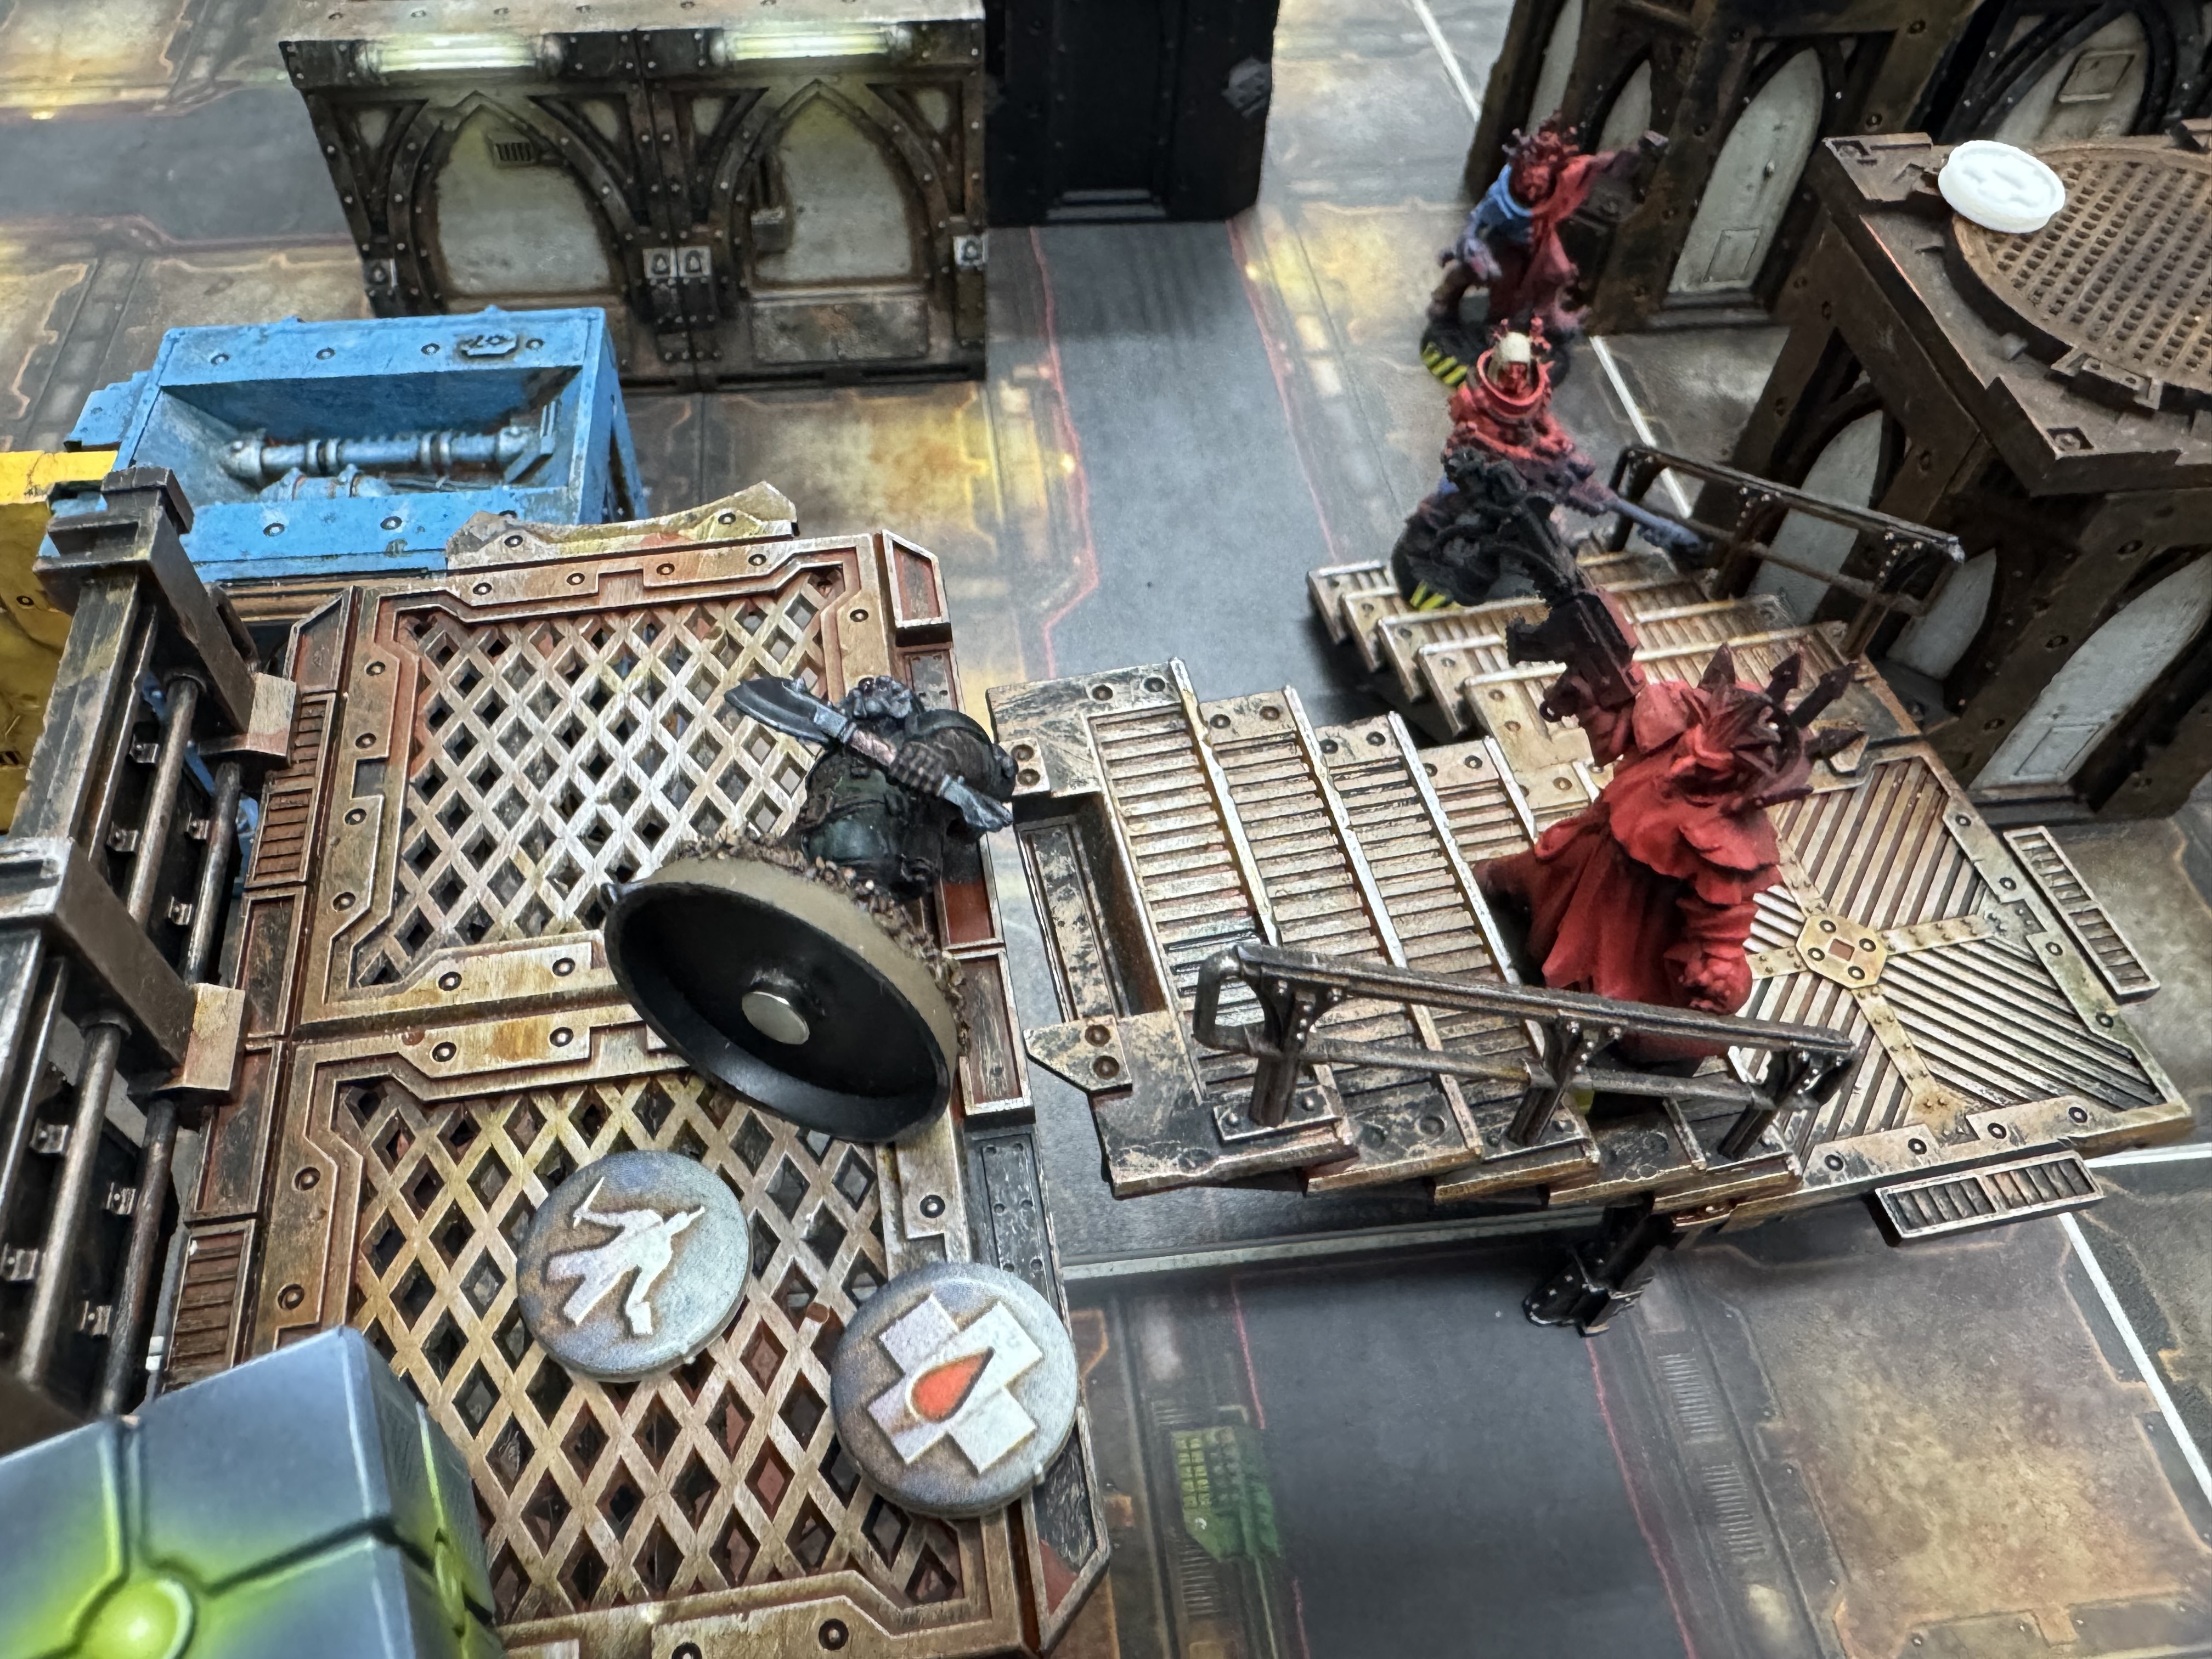
Frank, the Squat leader, ceremonially charged onto the bridge, sending Junior and another ganger ahead to clear the way. It was exactly the kind of confident boss move that says, this is our bridge now. And then, because Necromunda never lets confidence go unpunished, a Cawdor ganger popped out from behind cover and set poor Frank on fire.
That could easily have turned into one of those legendary campaign disasters: gang leader ablaze, bridge spinning, toxic river below, everyone shouting. Fortunately for the Squats, they had hired a doctor in a hurry before the battle — and this was exactly the kind of investment that pays off.
The medic sprinted in, grabbed his burning boss in spectacular fashion, and saved him from the very real possibility of tumbling into the deadly river as a flaming cautionary tale.
That rescue seems to have been the final blow to Cawdor’s morale. With casualties mounting and the bridge still firmly contested, the surviving gangers finally lost heart and withdrew.
Result
Another win for the Squats.
They came out of the fight having lost only Cassidy, and even that ended with no lasting harm. Cawdor, on the other hand, suffered badly: four fighters taken out, with two dead outright on double 66s, and a third later dying from serious injuries and not having enough money for proper medical care.
That is a very Necromunda sentence.
Campaign logistics: markers, mat, and terrain panic
As a bonus, the chat around the game also gave us a very relatable slice of campaign life: the eternal pre-game scramble for all the practical stuff. Objective markers? Needed. Gaming mat? Preferably not “bare table edition”. Terrain? Somehow secured in the end.
We always like these little behind-the-scenes moments, because they’re such a big part of actual hobby gaming. The dramatic bridge showdown is great, but so is the group chat energy of “who’s bringing what?”

If there’s one lesson here, it’s that Squats with heavy guns and a rotating bridge are already a problem — but Squats with a doctor on payroll are even worse.
We’re definitely hoping this gang keeps its absurd streak going, because between the Mining Laser, toxic sludge deaths, flaming leaders and miraculous rescues, this campaign is producing exactly the kind of stories we want from Necromunda.